File Logging
Collect log information from the request gateway and output it to a file for developers to query.
Features
File Logging: Outputs request information to a log file with the following features:
- Customize the storage directory and file name
- Split log files periodically to avoid a single file becoming too large and difficult to view
- Delete expired files regularly to reduce hard disk space usage
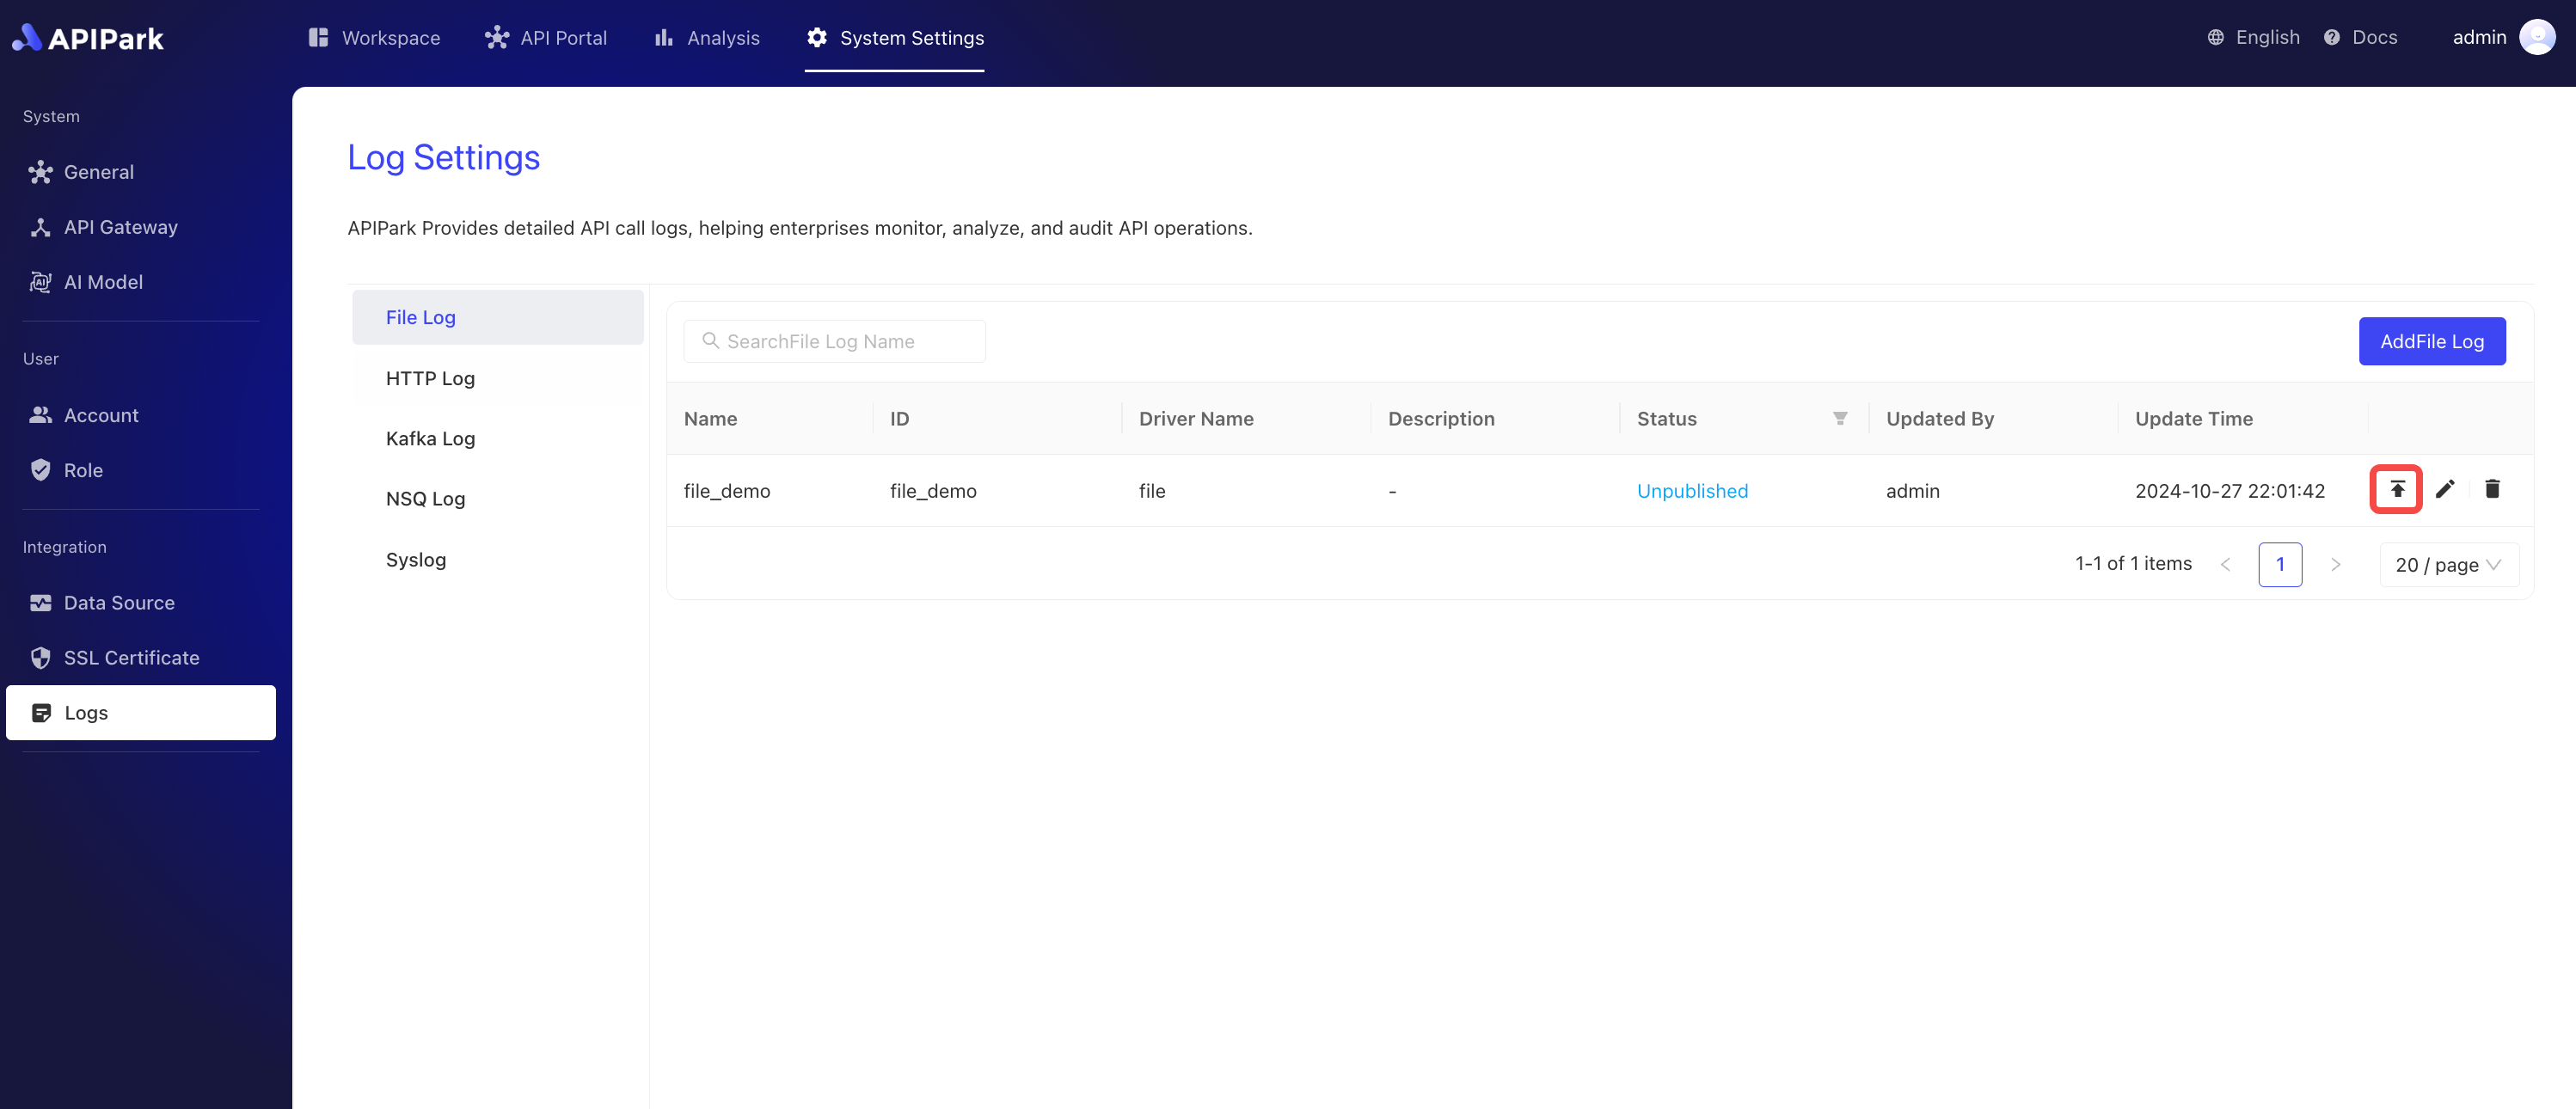
Operation Demonstration
Create a New File Log Configuration
-
Click
System Settings->Logs->File Log, then clickAdd File Log.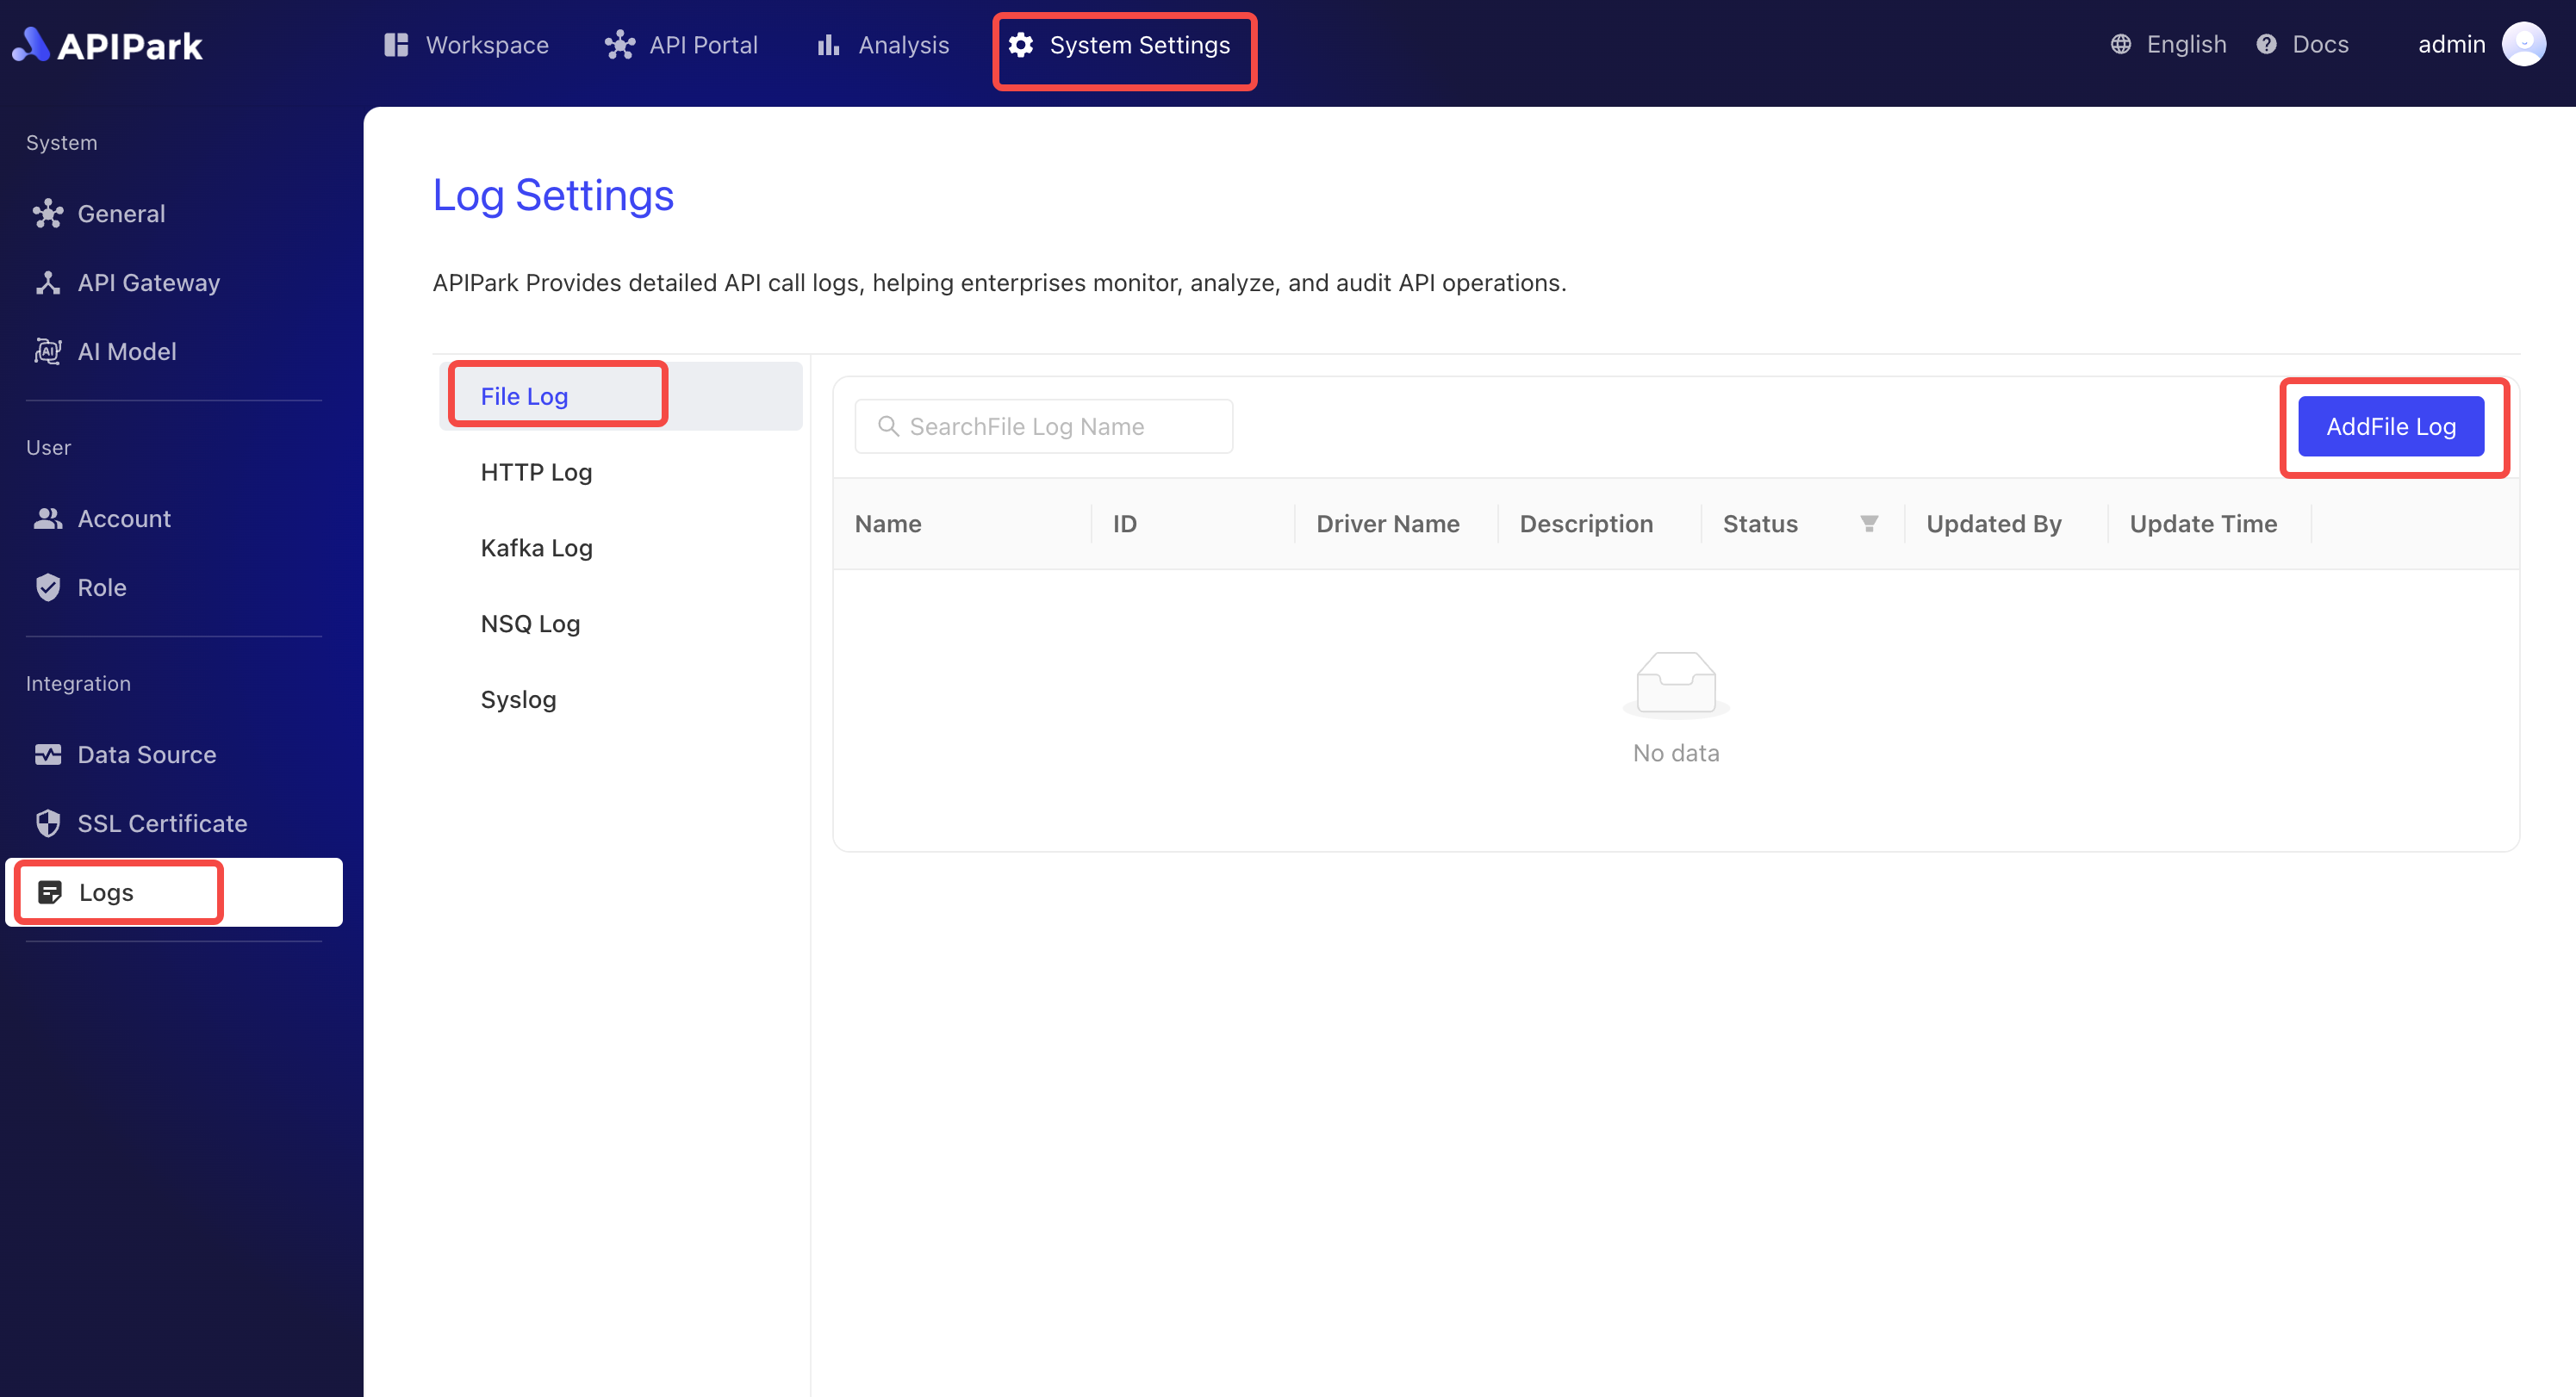
-
Fill in the file log configuration.
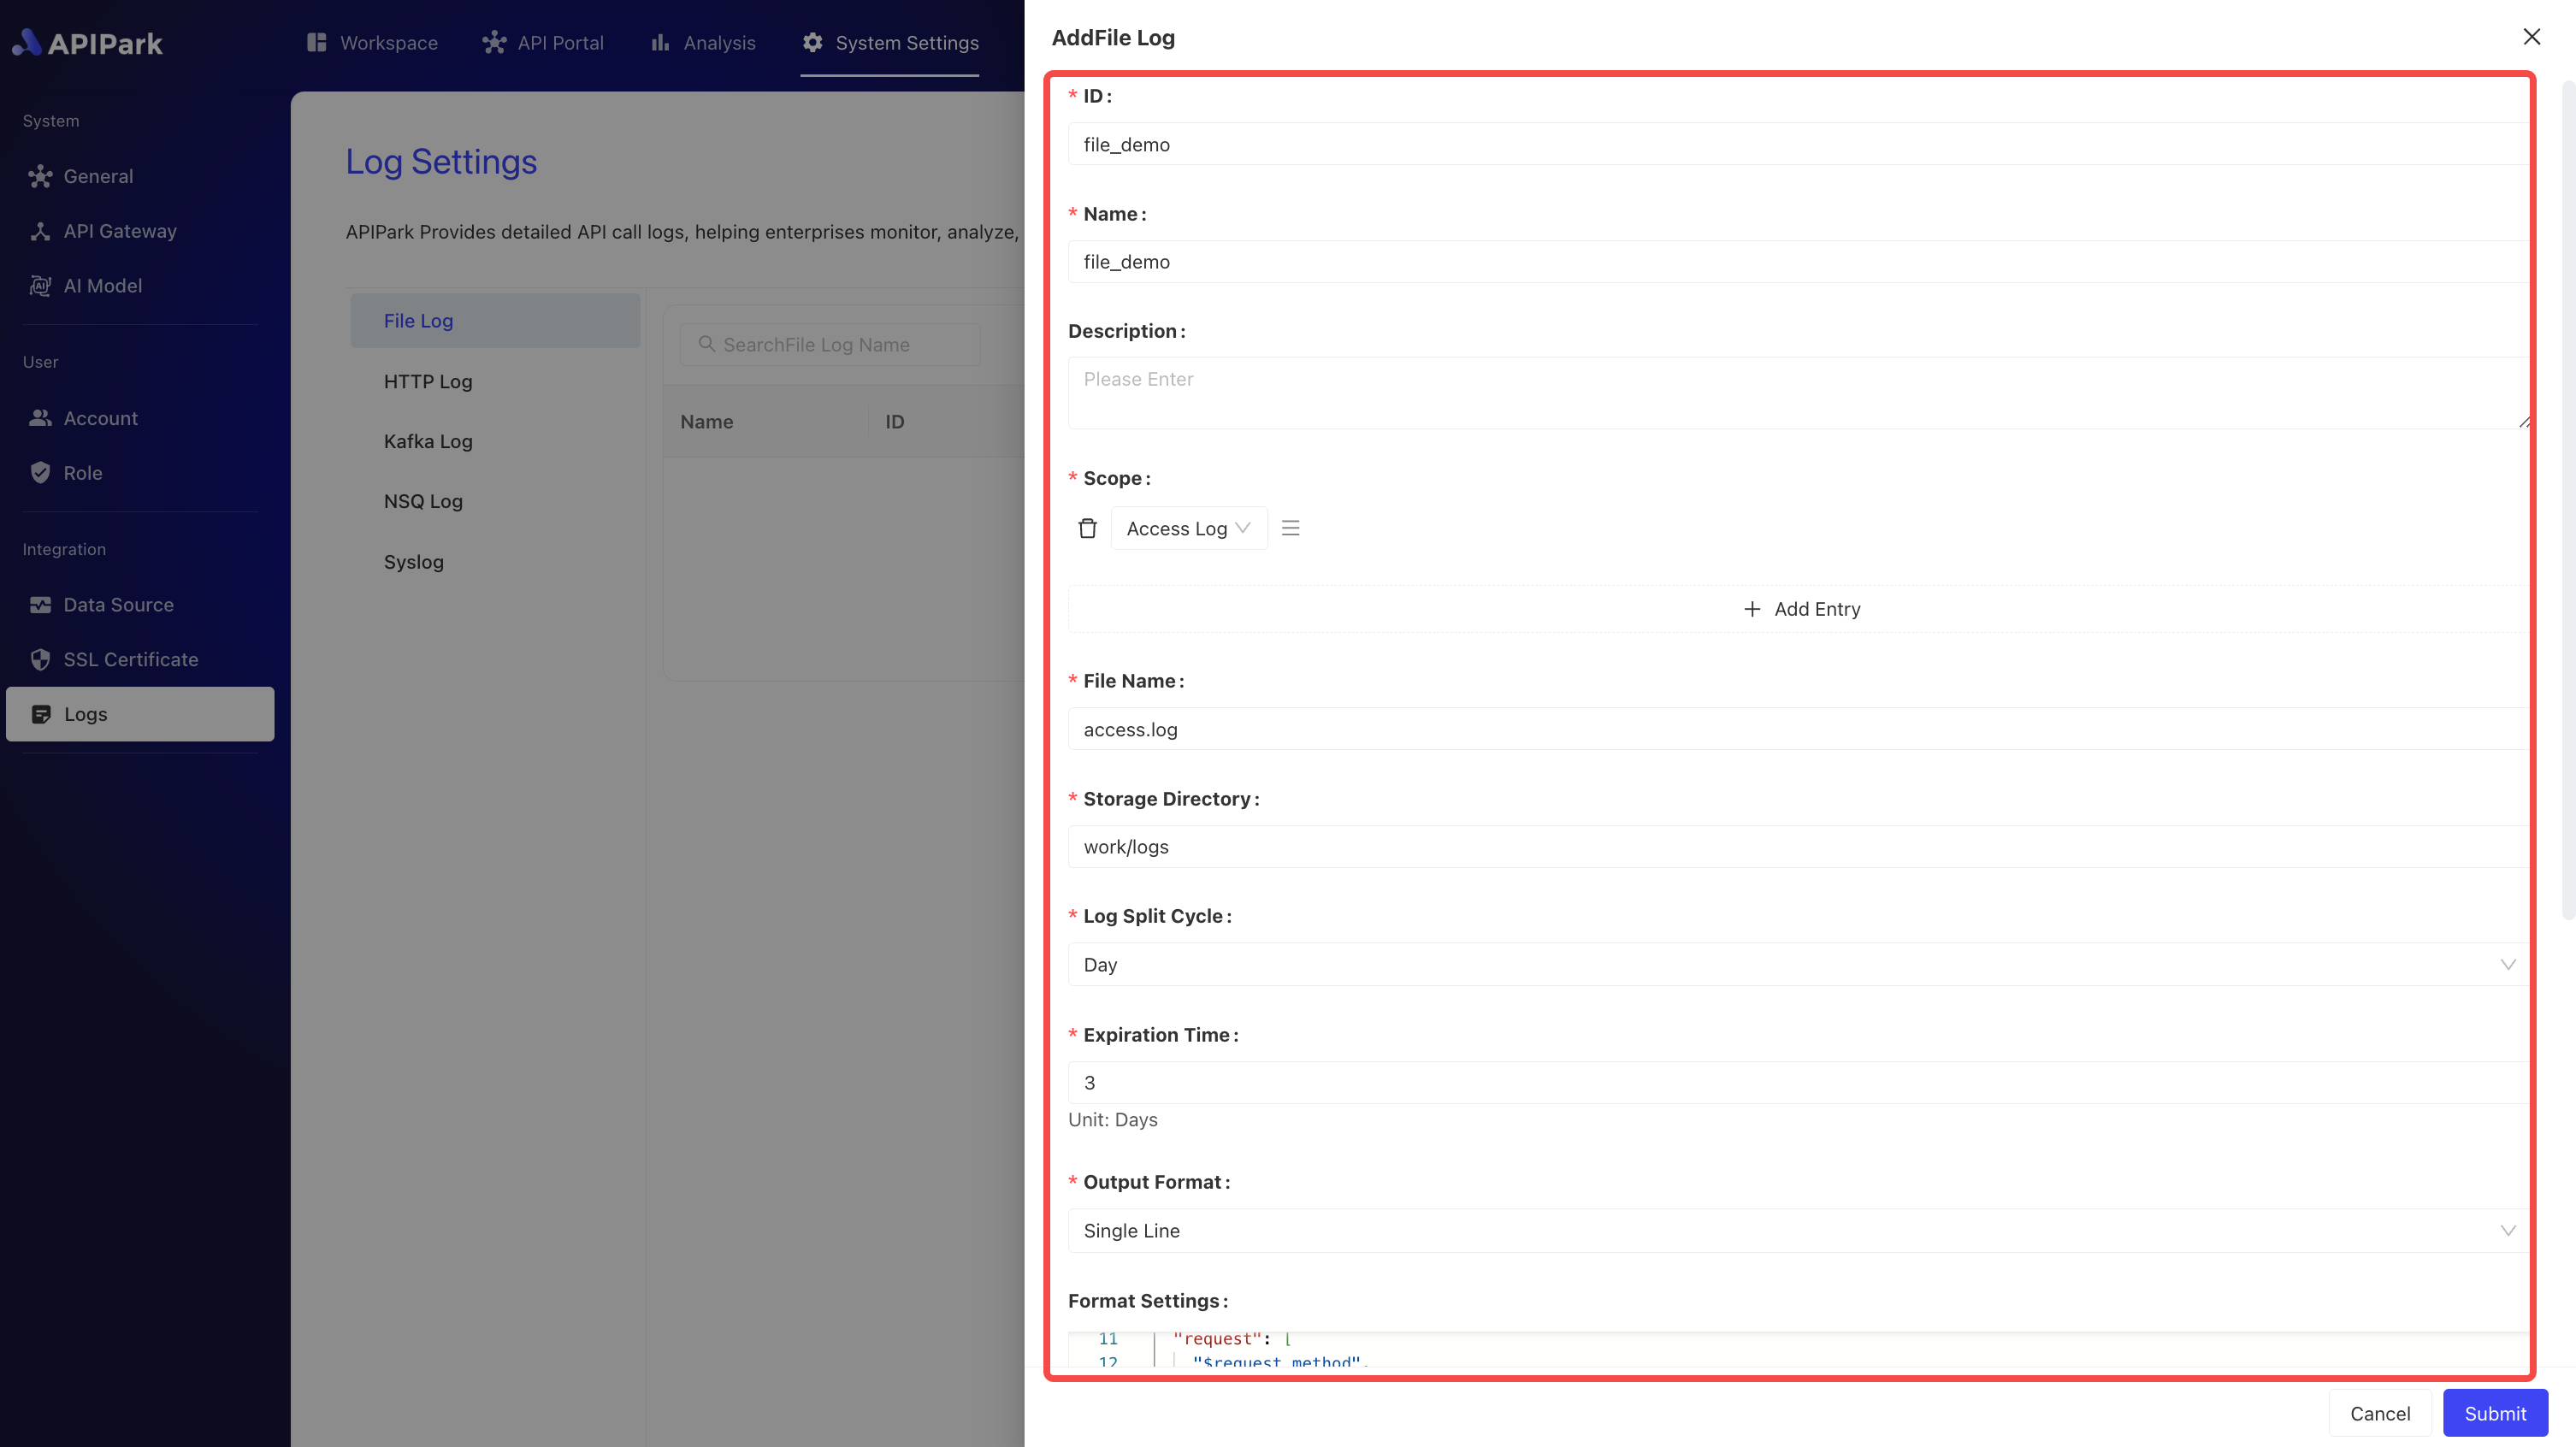
Configuration Description:
| Field Name | Description |
|---|---|
| File Name | The name of the file to be stored; the actual stored name will have a .log suffix, i.e., {File Name}.log |
| Storage Directory | The directory where the file is stored, supports both relative and absolute paths |
| Log Splitting Period | Creates a new log file periodically, and renames old log files; options: Hourly, Daily |
| Expiration Time | File retention time in days; files exceeding this time will be regularly deleted |
| Output Format | The format of the log content, supports single line or JSON formatted output |
| Formatting Configuration | Template for output format. For tutorial click here to jump |
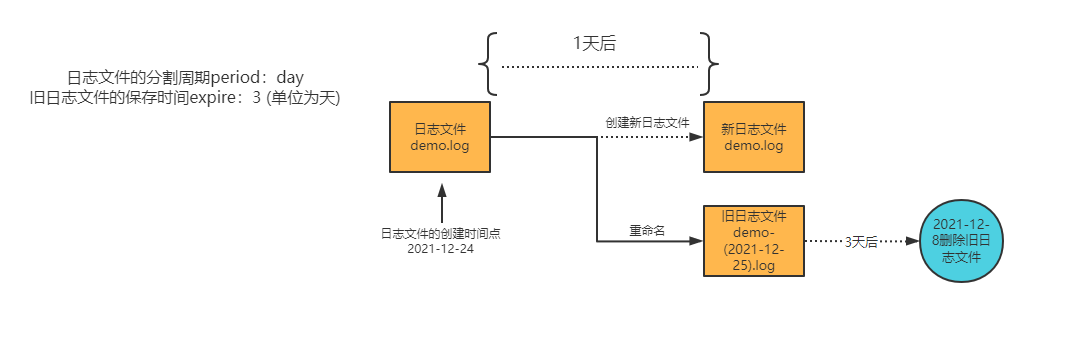
File Lifecycle Demonstration
Formatting Configuration Example
{
   "fields": [
      "$time_iso8601",
      "$request_id",
      "@request",
      "@proxy",
      "@response",
      "@status_code",
      "@time"
   ],
   "request": [
      "$request_method",
      "$scheme",
      "$request_uri",
      "$host",
      "$header",
      "$remote_addr"
   ],
   "proxy": [
      "$proxy_method",
      "$proxy_scheme",
      "$proxy_uri",
      "$proxy_host",
      "$proxy_header",
      "$proxy_addr"
   ],
   "response": [
      "$response_headers"
   ],
   "status_code": [
      "$status",
      "$proxy_status"
   ],
   "time": [
      "$request_time",
      "$response_time"
   ]
}
After completing the configuration, click Submit.
Launch
- Click the
Launchbutton next to the configuration you wish to launch.