Members
Introduction
The member management module is a key component of the API Open Platform System, specifically designed for managing user accounts and organizational structures. This module provides a range of functionalities to ensure efficient and orderly member management within the system.
Function Description:
- Create New Account:
- Administrators can create new user accounts.
- When creating a new account, basic information such as username, email, department, etc., can be set.
- Enable/Disable Members:
- Administrators can enable or disable member accounts.
- The enable function ensures members have normal access to system resources.
- The disable function quickly restricts access when a member leaves or no longer needs access, ensuring system security.
- Organizational Structure Management:
- Supports viewing and editing company organizational structures.
- Administrators can create, modify, and delete departments to ensure the structure is accurate and timely updated.
- Member Assignment:
- Members can be assigned to different departments to reflect their actual work positions and responsibilities.
- Supports batch operations for administrators to adjust departmental affiliations of multiple members at once.
- Provides search and filter functions for quickly locating and assigning members.
- Assigns user roles to ensure each member can only access and operate within their permission range.
Operation Demo
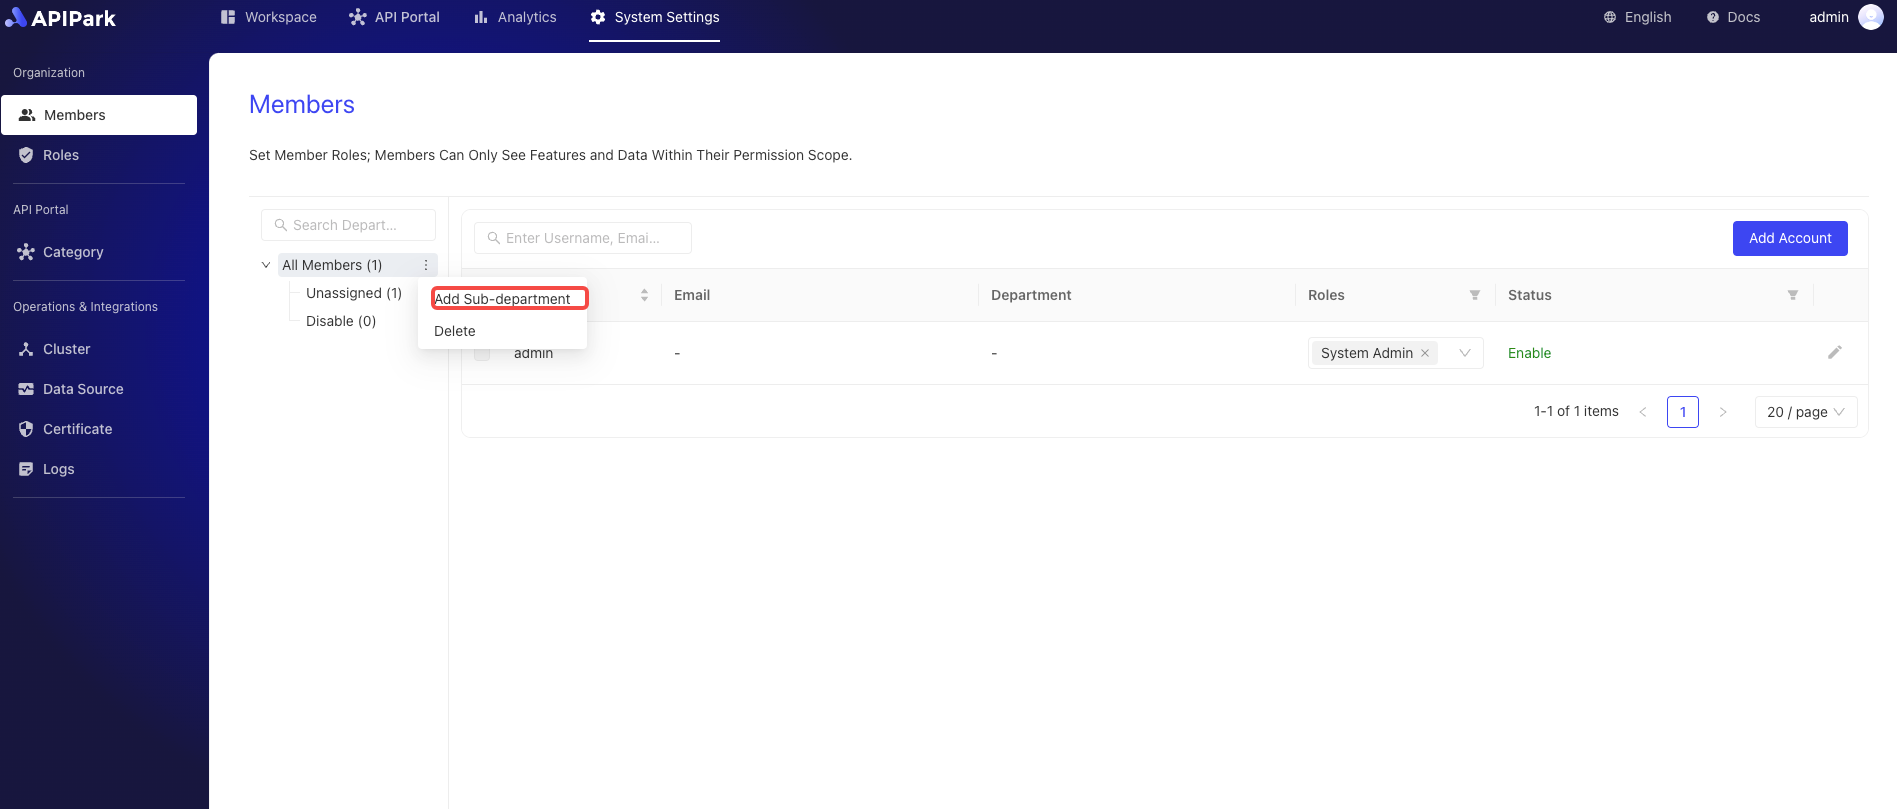
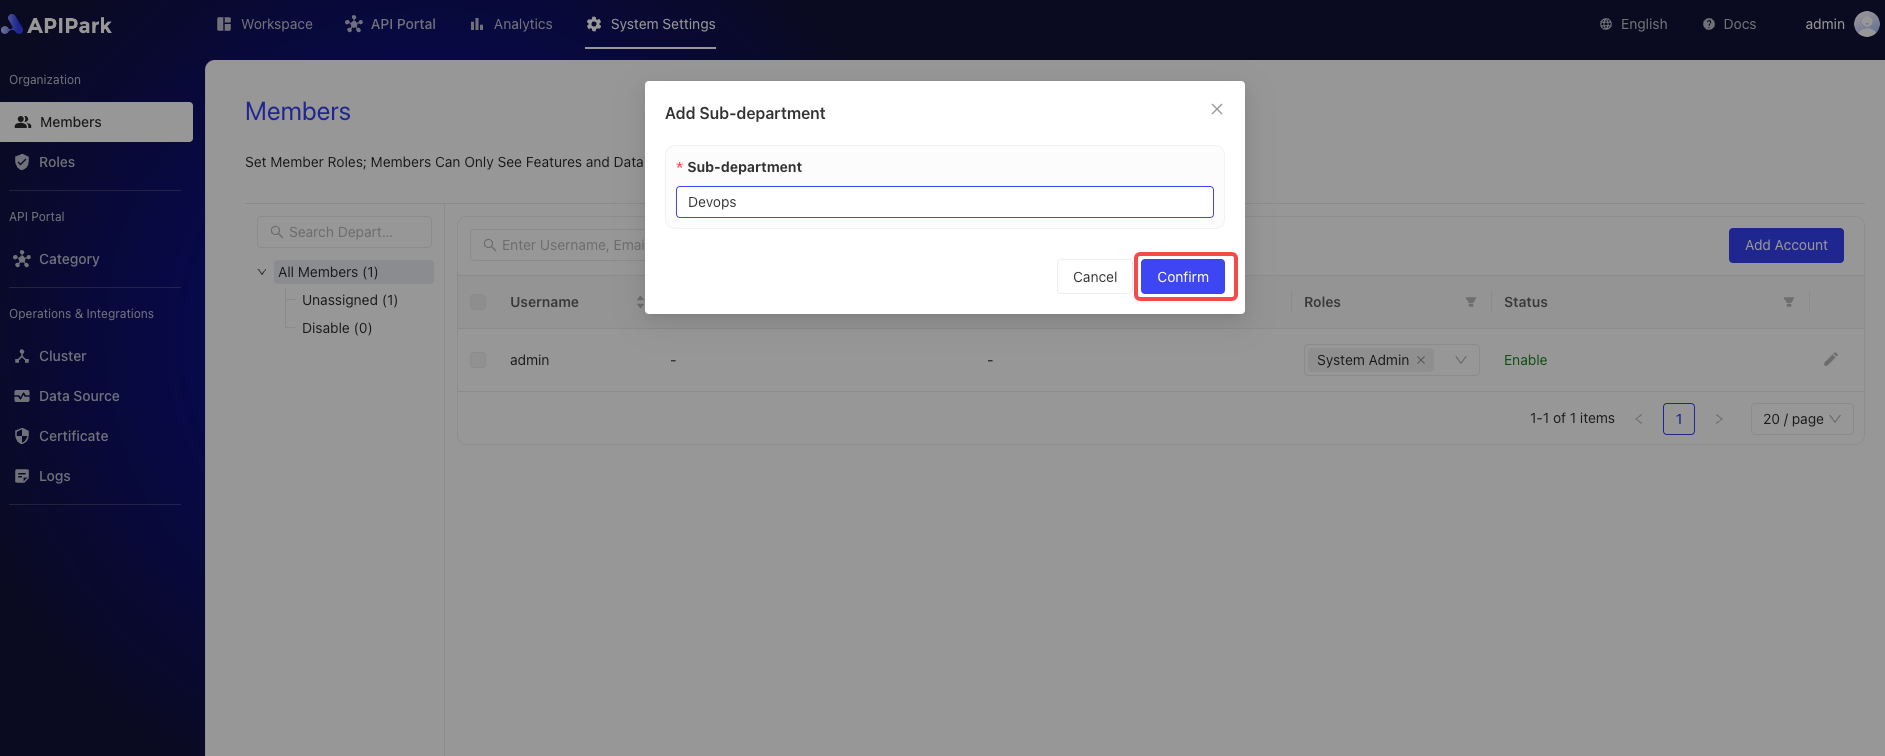
Add Department/Sub-department
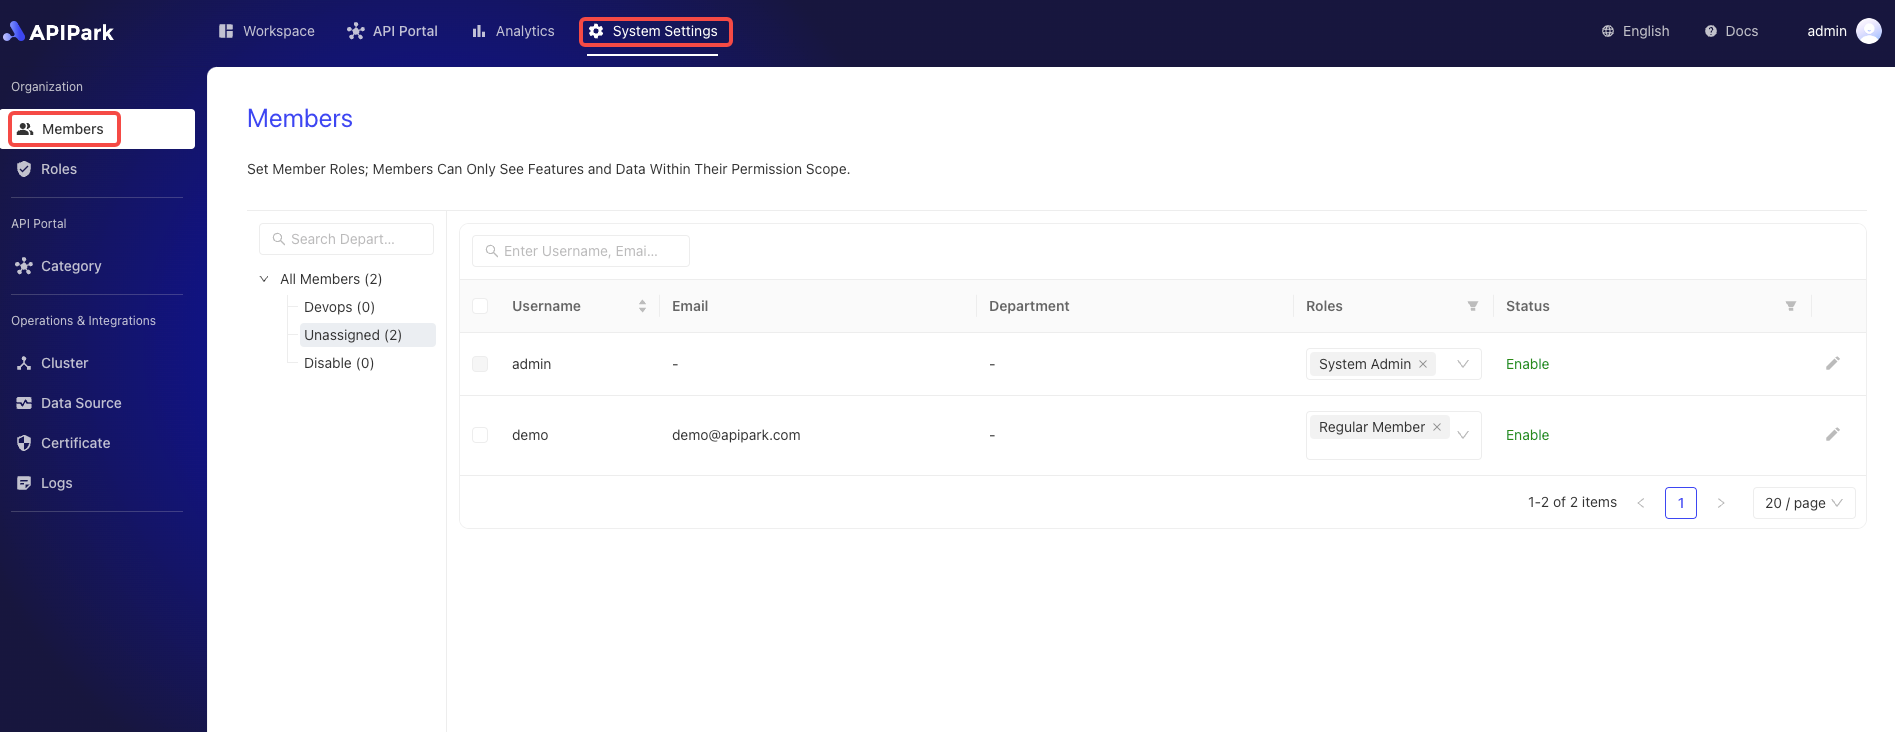
- Click
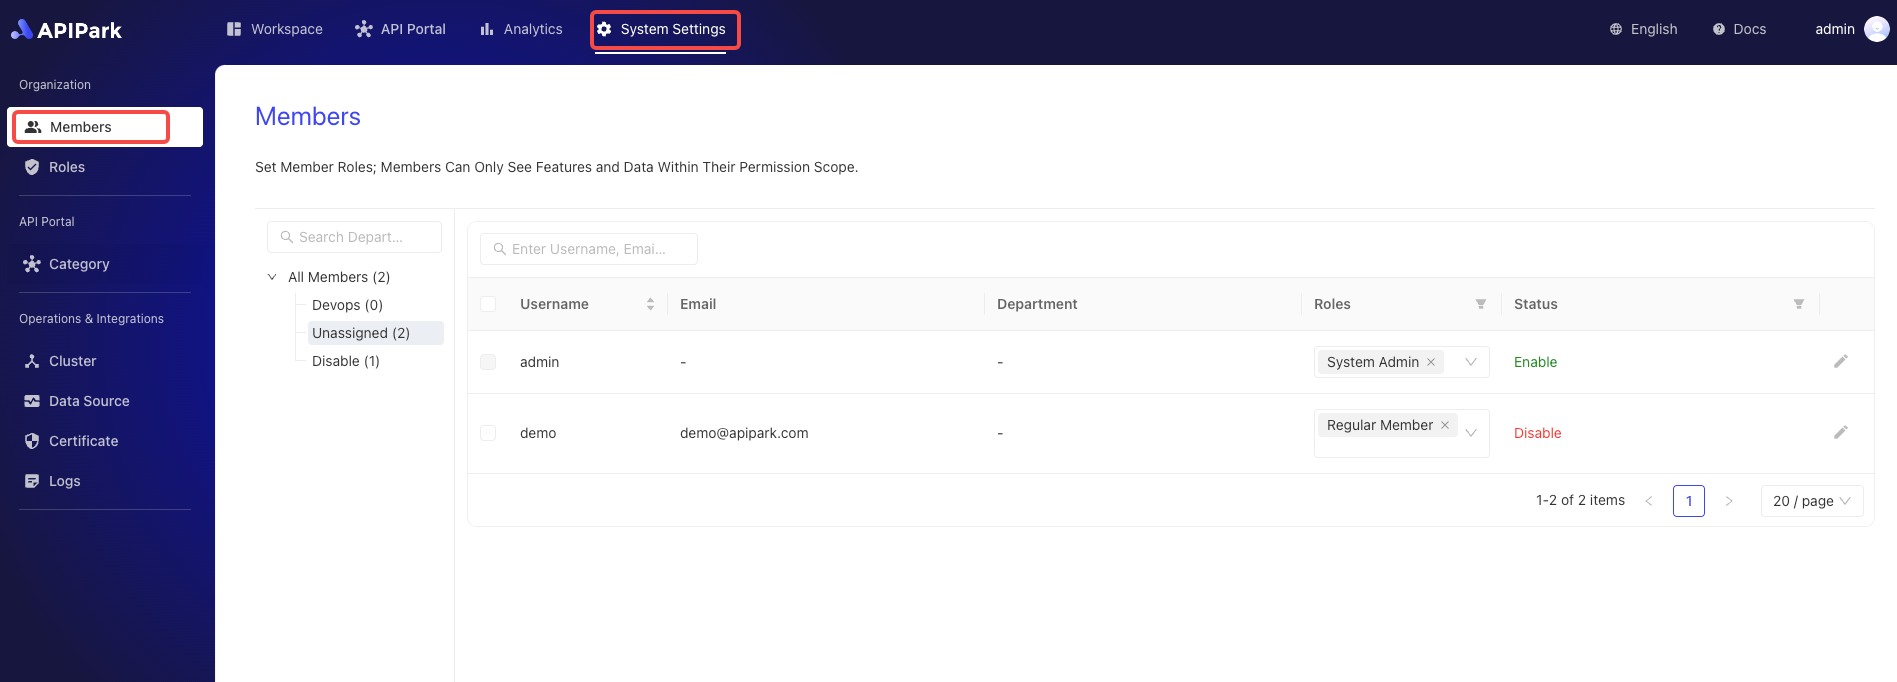
System Settings->Organization->Membersto enter the member list page.
- Click the menu button at the end of the department list and select
Add Sub-department.
- Enter the department name in the pop-up box and click
Confirmafter completion.
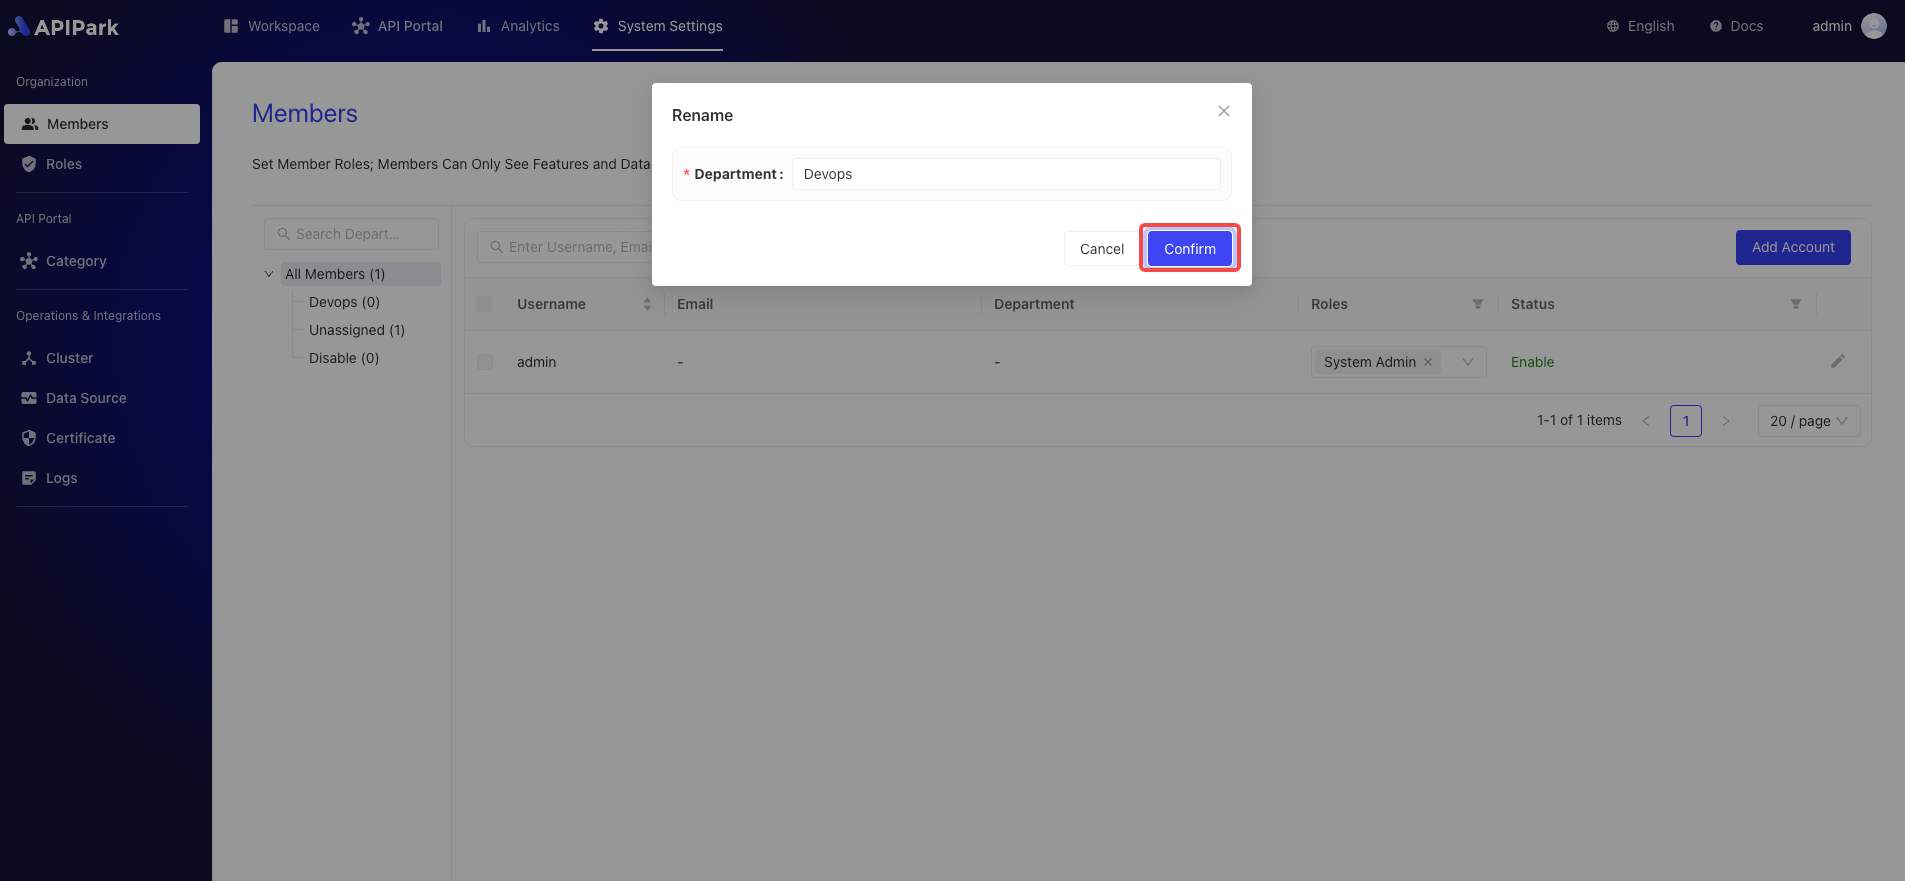
Rename Department Name
- Click
System Settings->Organization->Membersto enter the member list page.
- Click the menu button at the end of the department list and select
Rename.

- Enter the department's name in the pop-up box and click
Confirm.
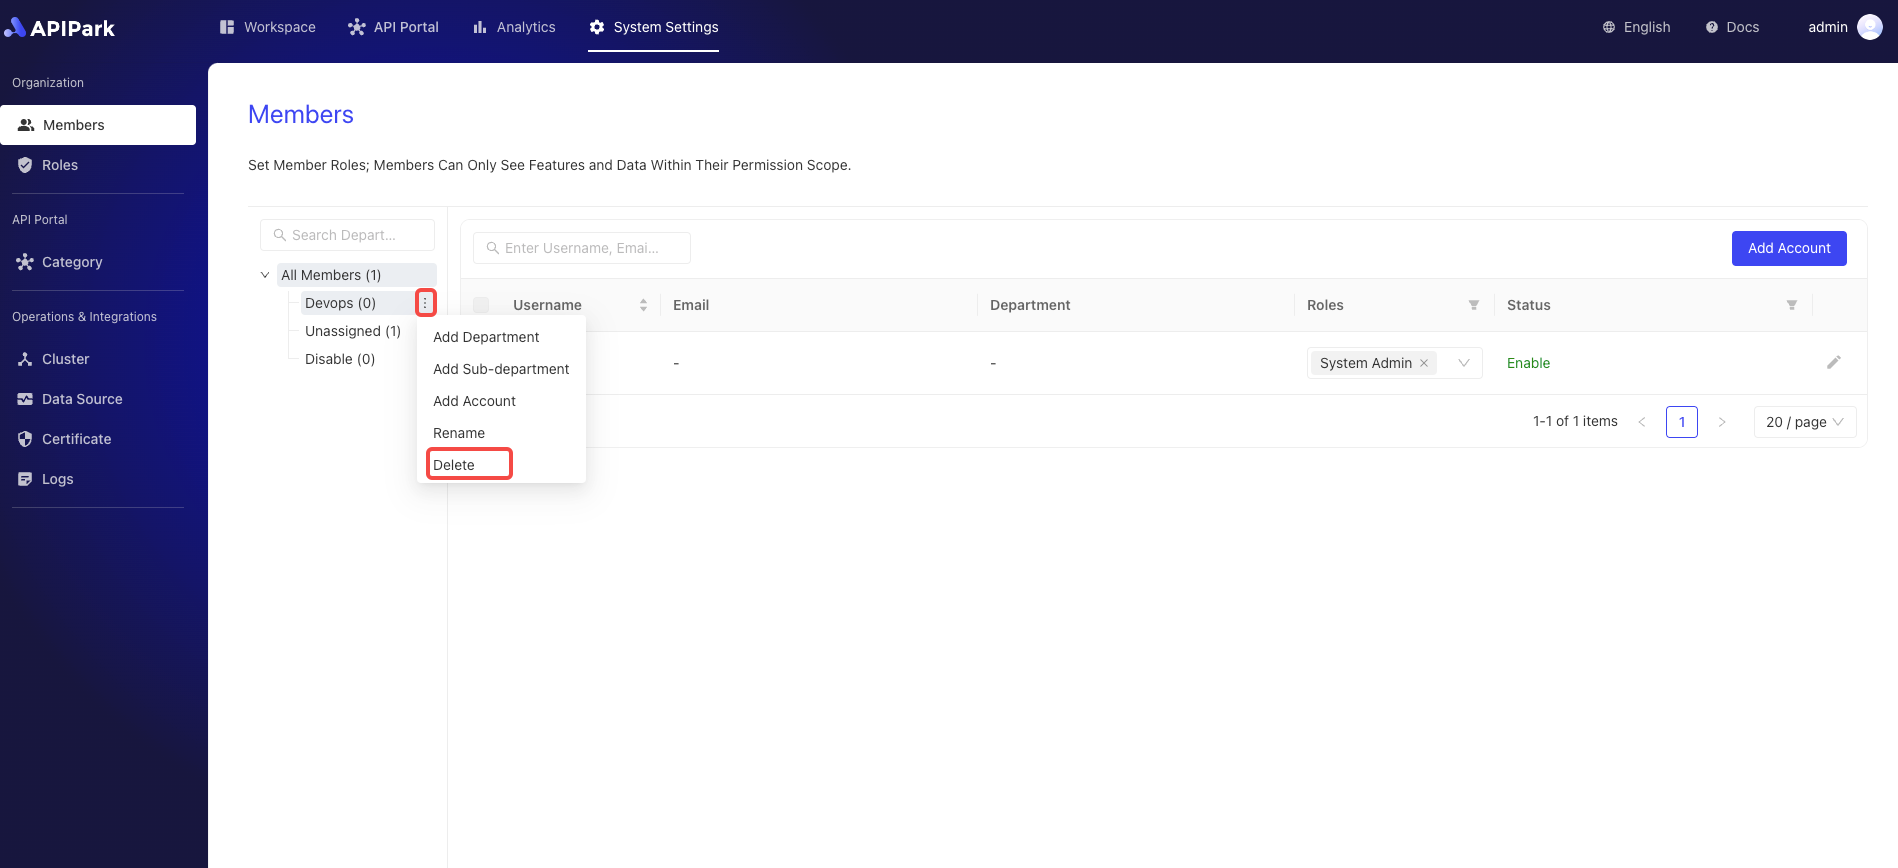
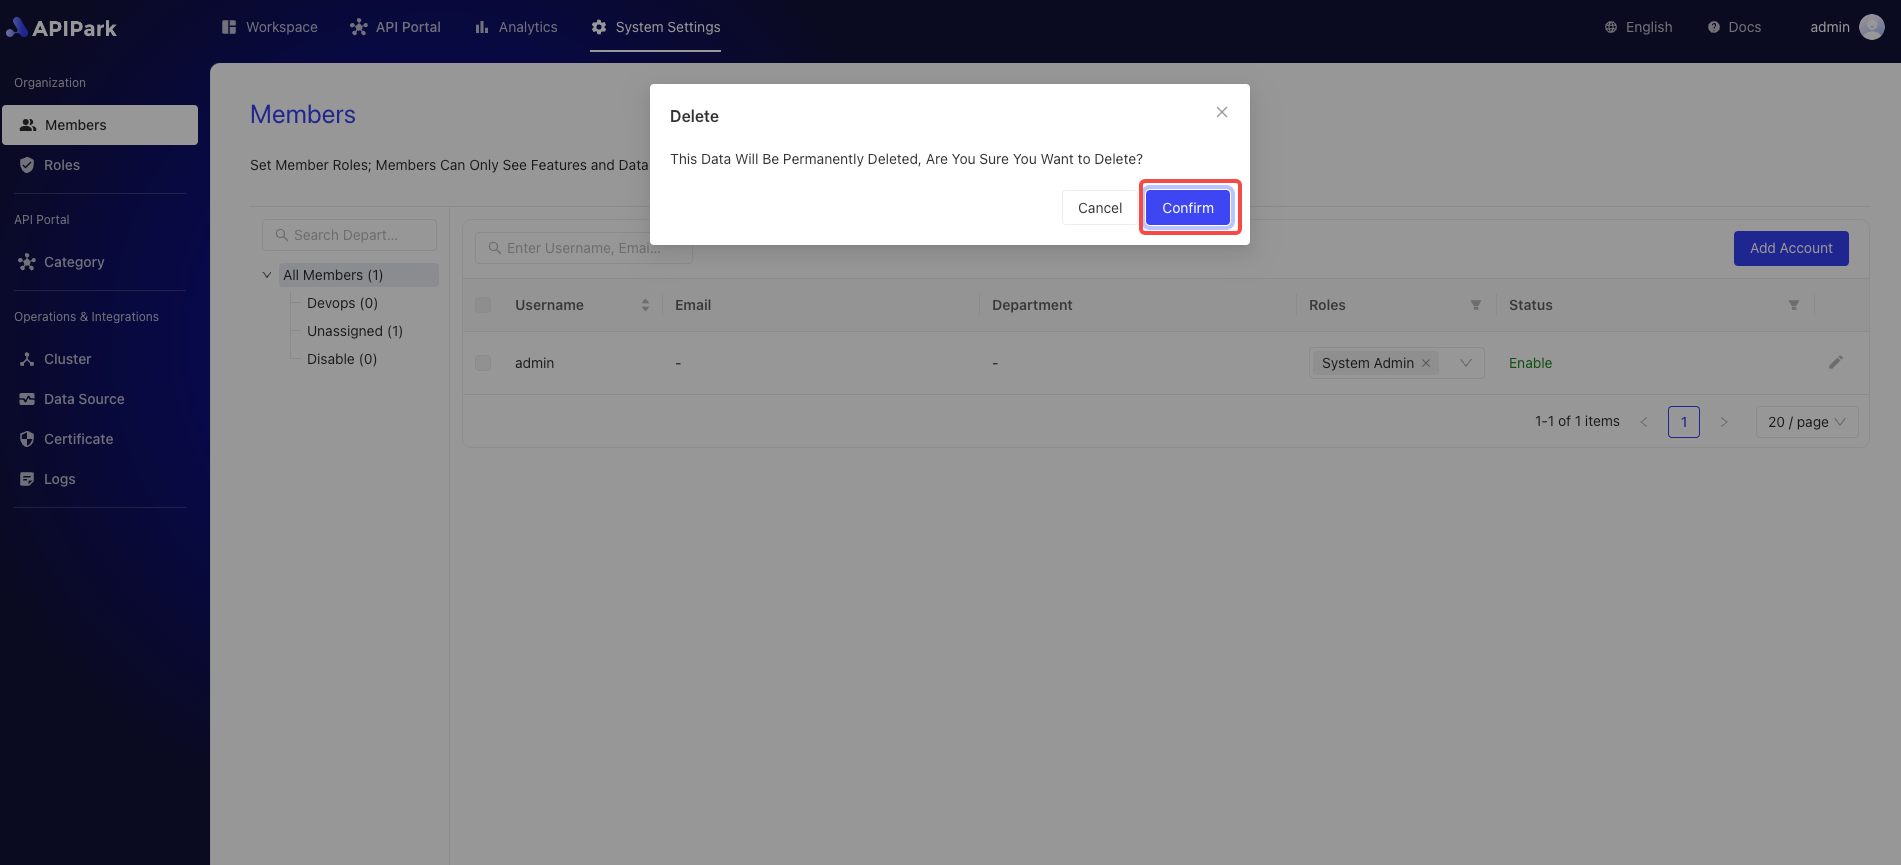
Delete Department
- Click
System Settings->Organization->Membersto enter the member list page.
- Click the menu button at the end of the department list and select
Delete.
- Click
Confirmin the pop-up box.
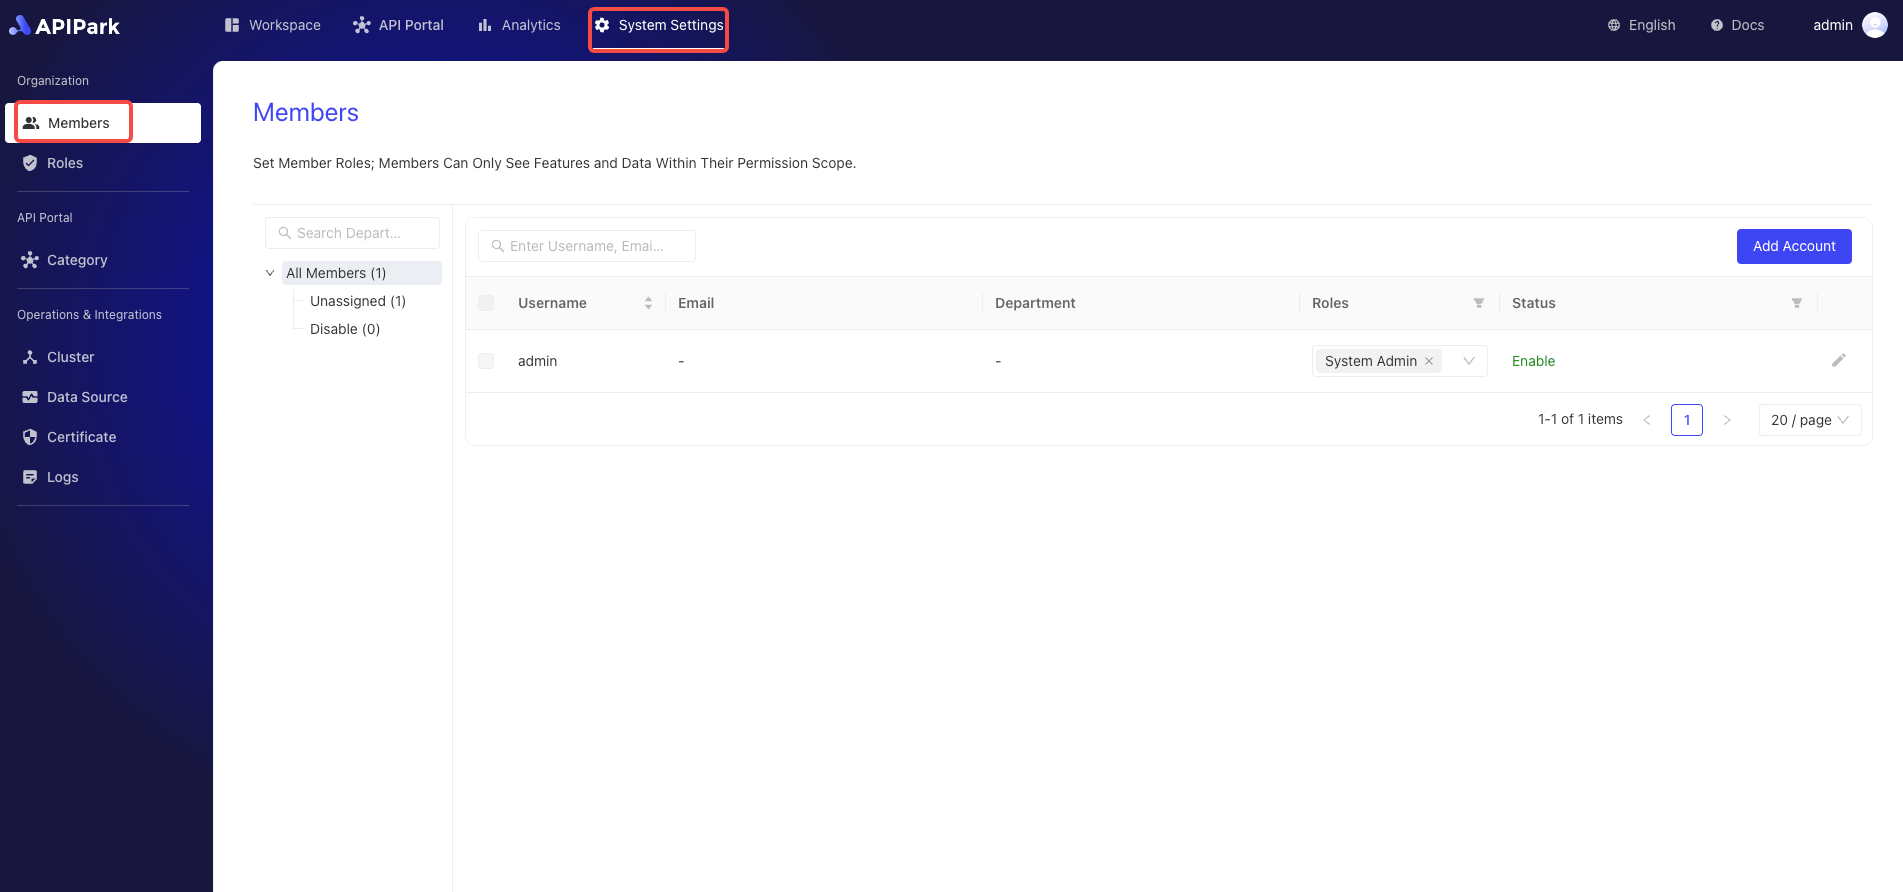
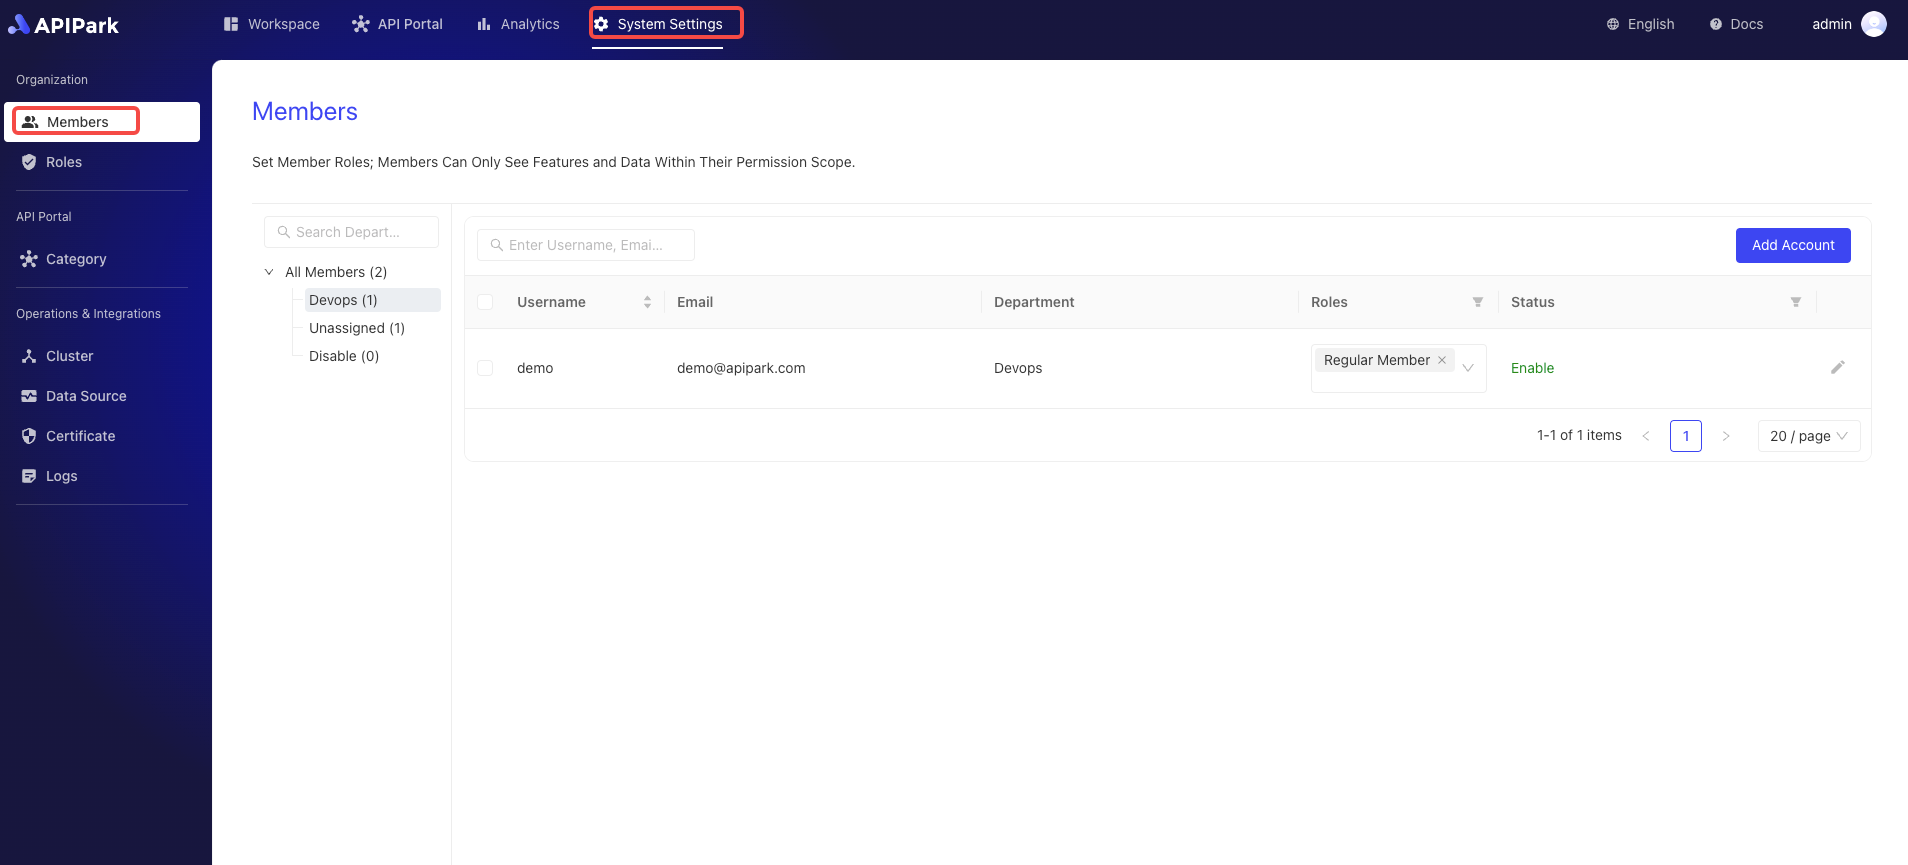
Add Account
- Click
System Settings->Organization->Membersto enter the member list page.
- Click the
Add Accountbutton.

- Fill in the
Username,Email,Departmentinformation in the pop-up box, and click Confirm after completion.
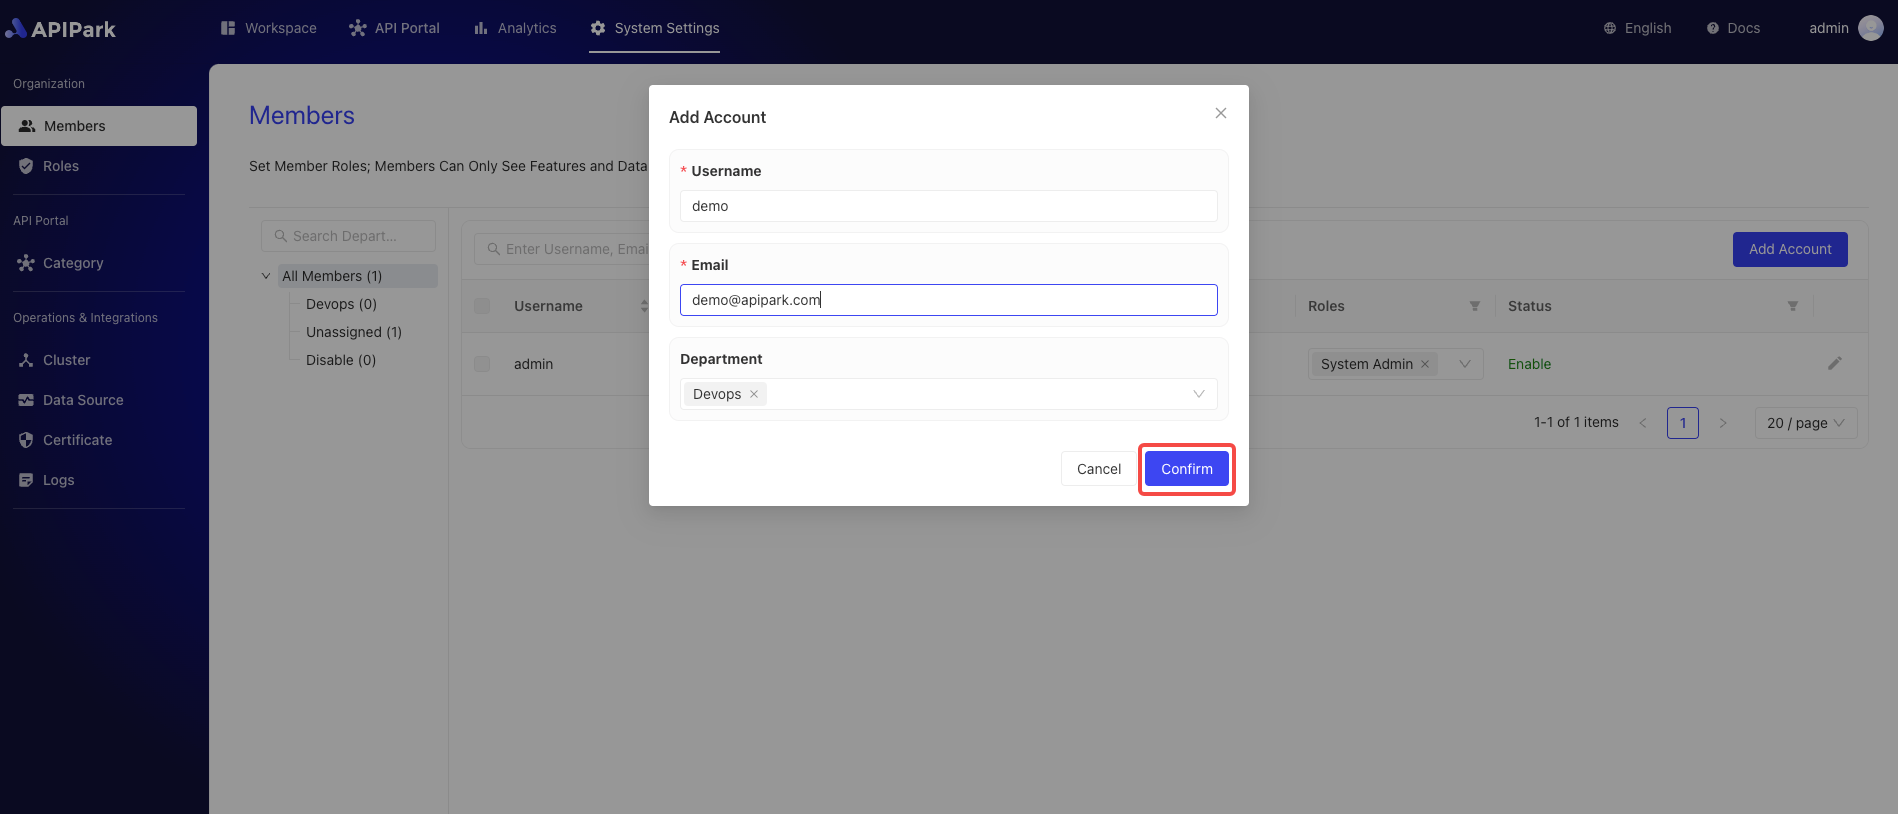
After adding an account, a Regular Member system role is automatically assigned.
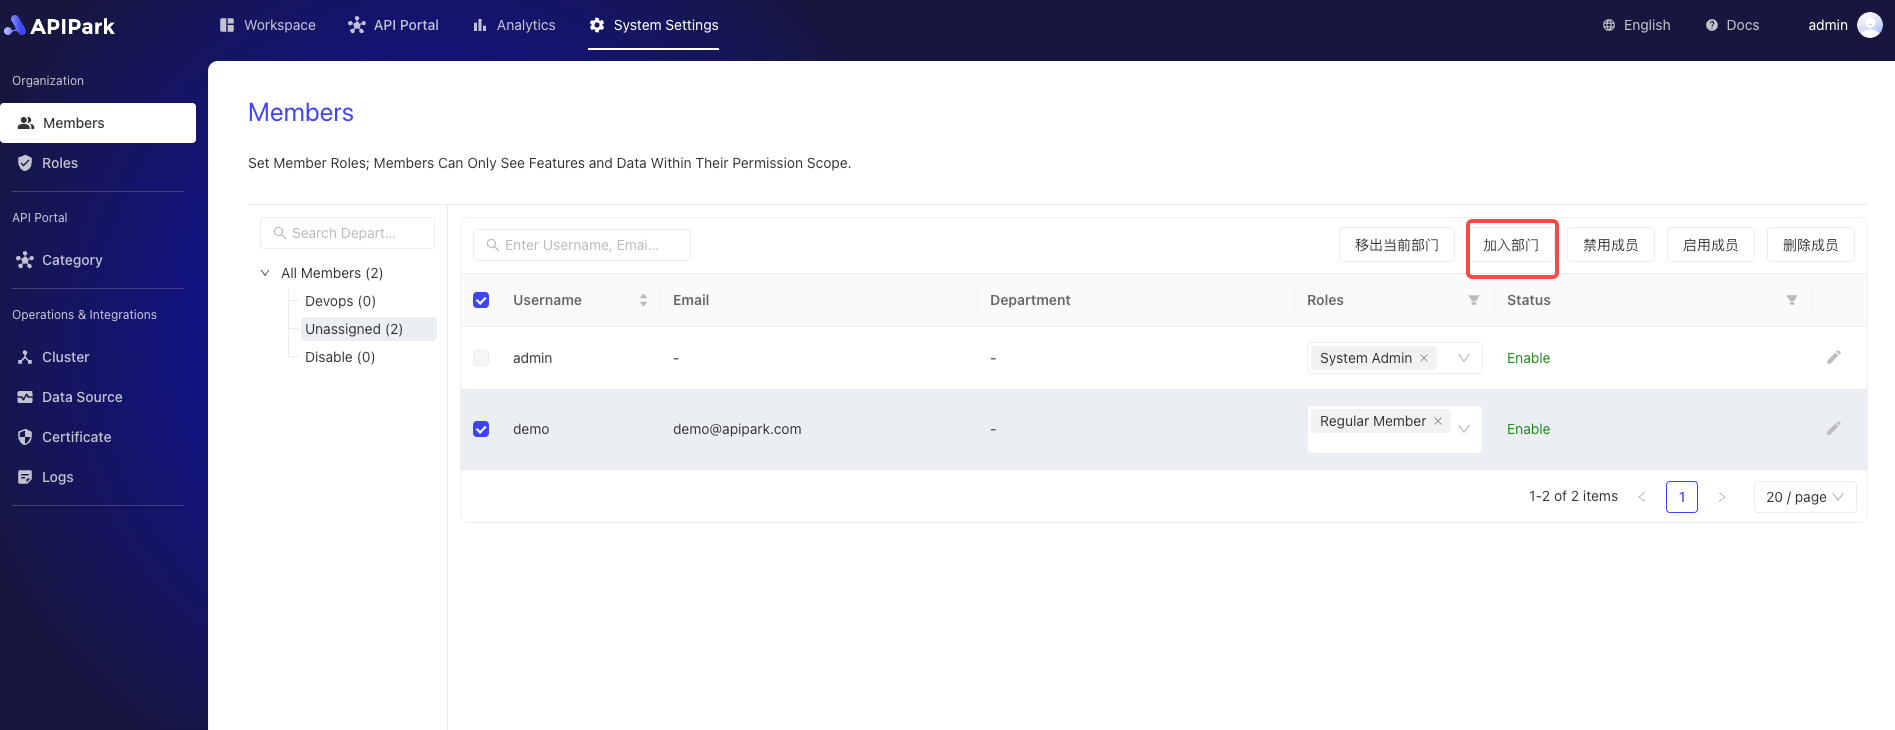
Join Department
- Click
System Settings->Organization->Membersto enter the member list page.
- Select a member and click
Join Department.

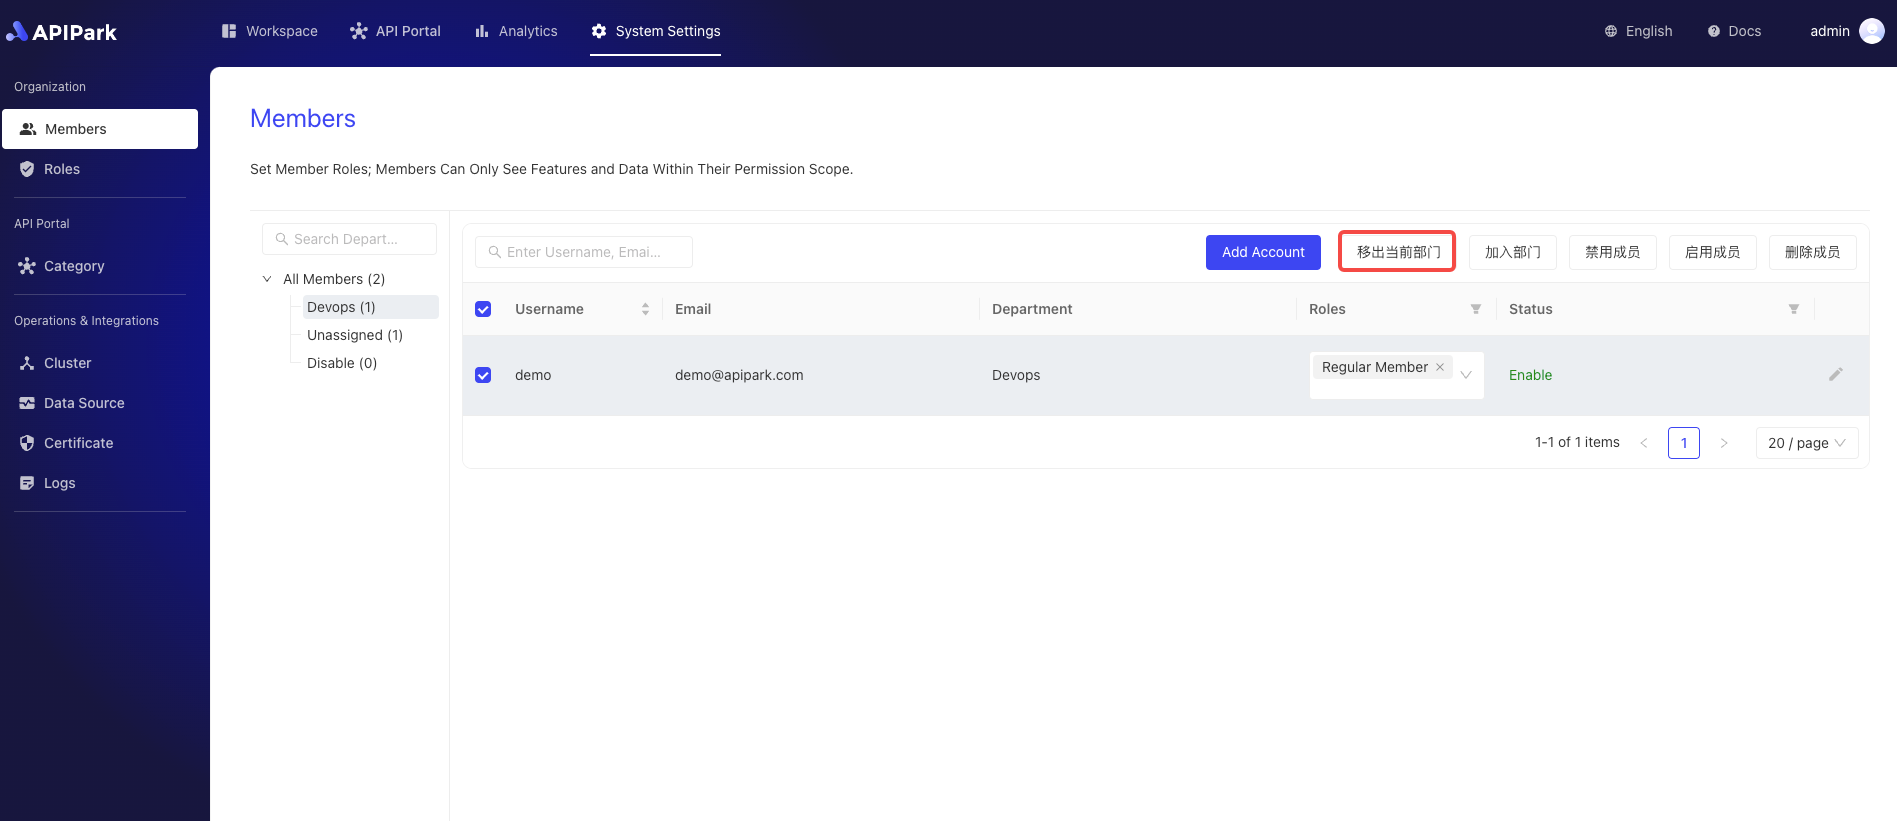
Remove from Current Department
- Click
System Settings->Organization->Membersto enter the member list page.
- Select the member you need to remove from the department and click
Remove from Current Department.

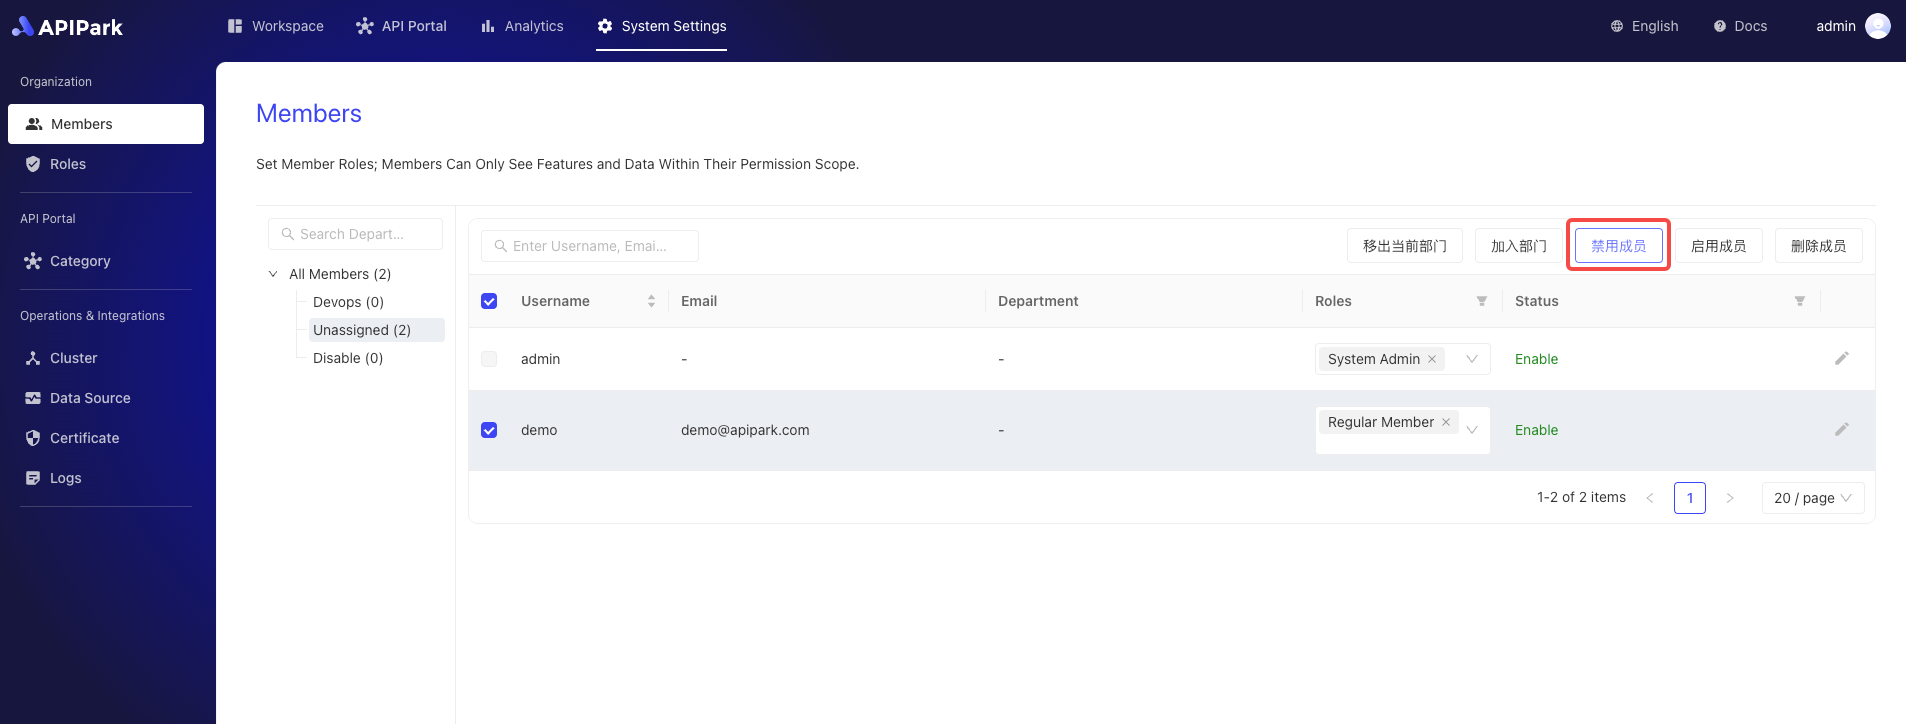
Enable Member
- Click
System Settings->Organization->Membersto enter the member list page.
- Select the member you want to enable and click
Enable Member.

Disable Member
- Click
System Settings->Organization->Membersto enter the member list page.
- Select the member you want to disable and click
Disable Member.
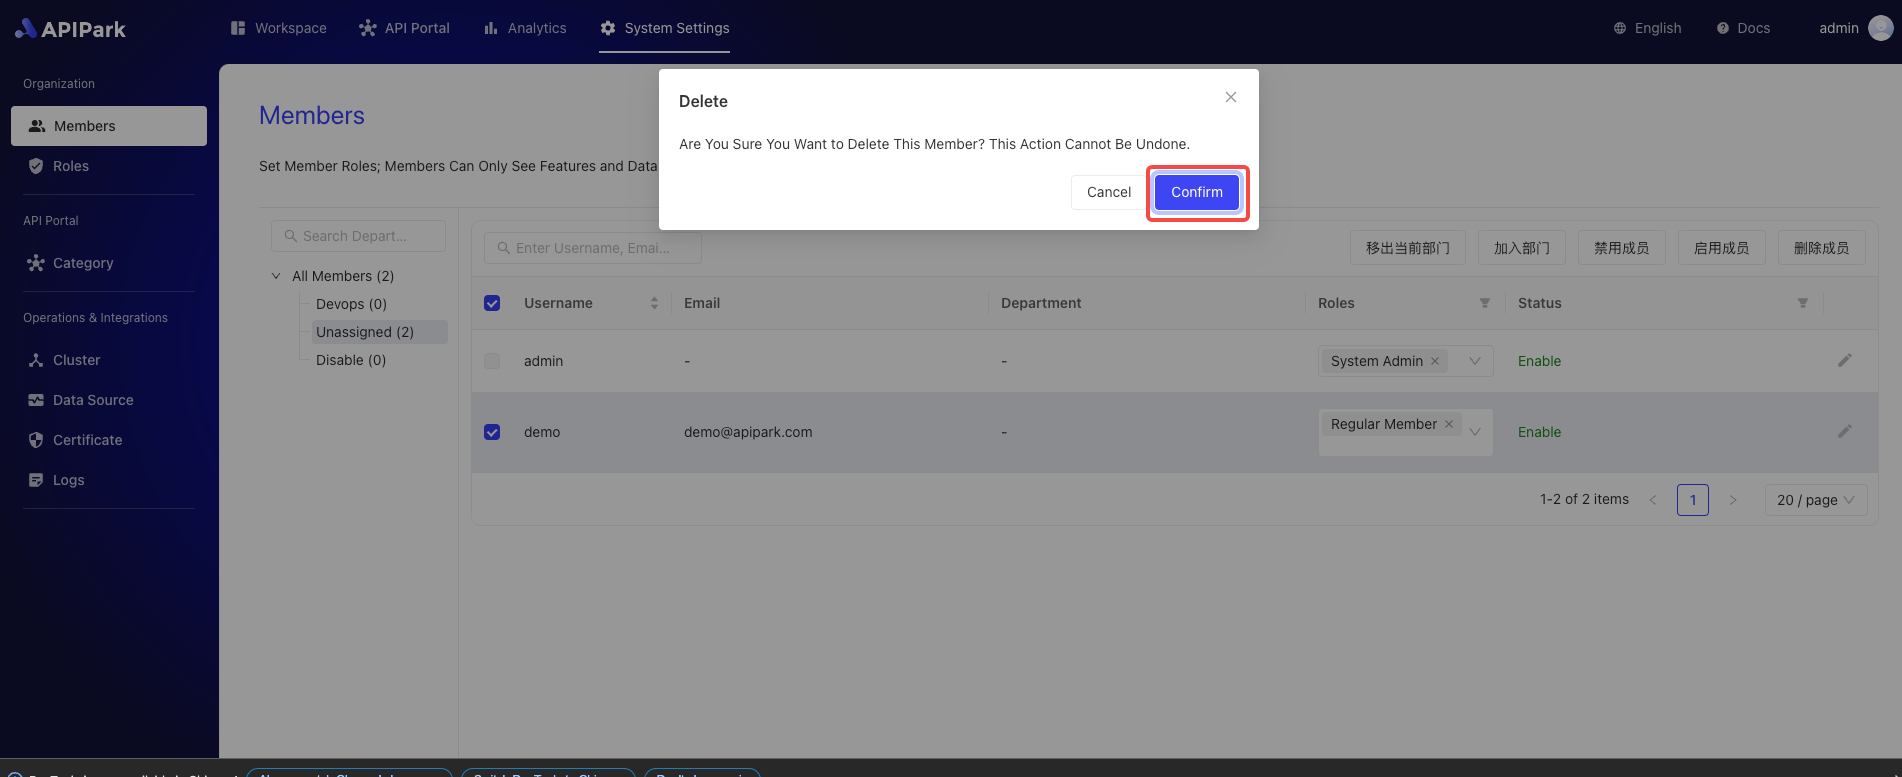
Delete Member
- Click
System Settings->Organization->Membersto enter the member list page.
- Select the member you want to delete and click
Delete Member.
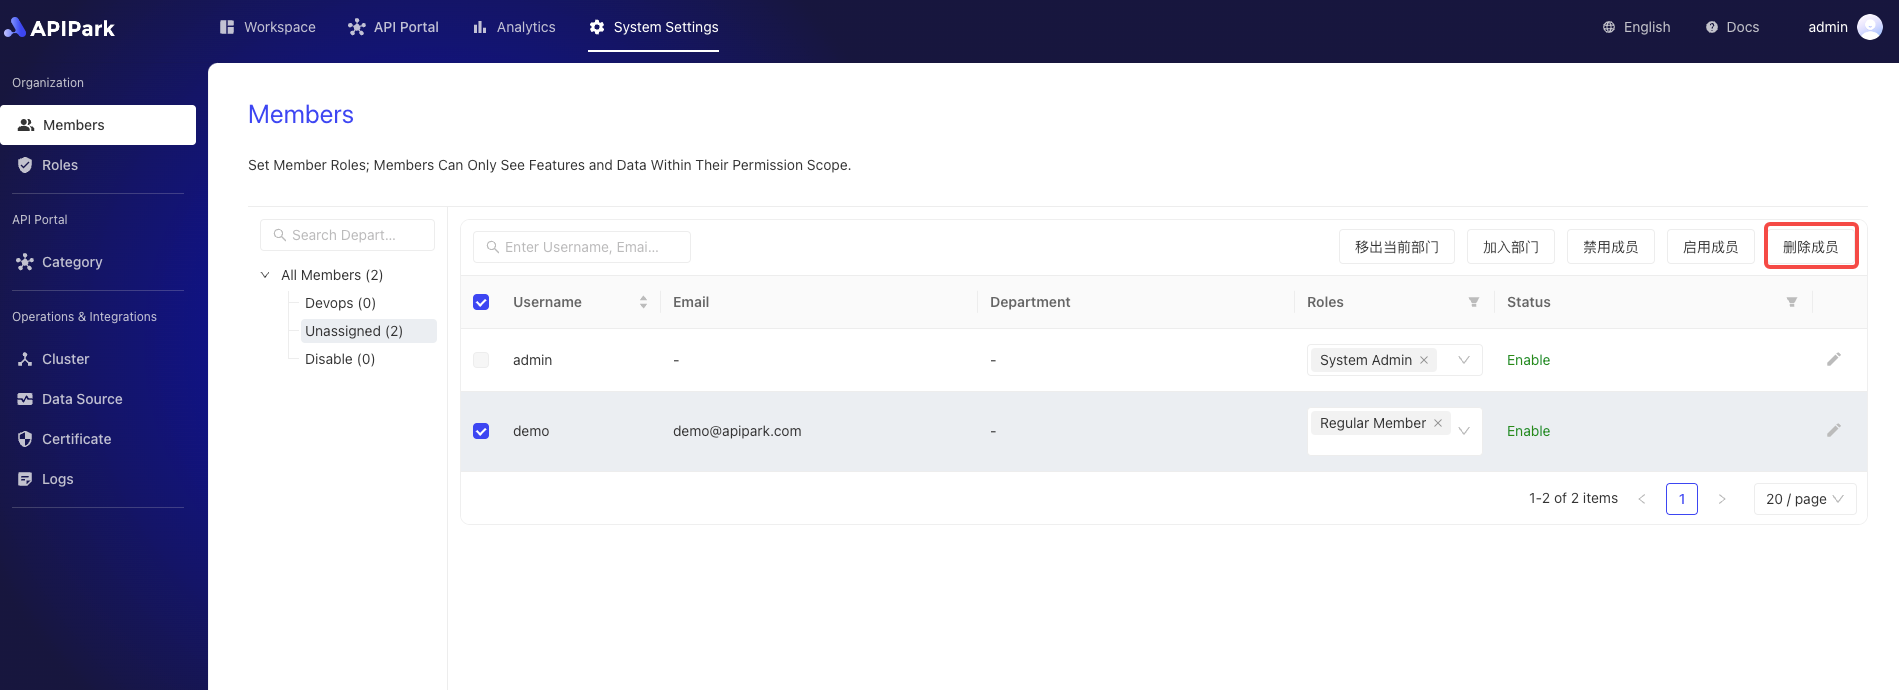
- Click
Confirmin the pop-up box.