File Logging
Collect and output log information from the request gateway into files for developers to review.
Features
File Logging: Outputs request information to log files with the following features:
- Customize the directory and file name for storage
- Split log files periodically to avoid large files that are hard to view
- Scheduled deletion of expired files to reduce hard drive space usage
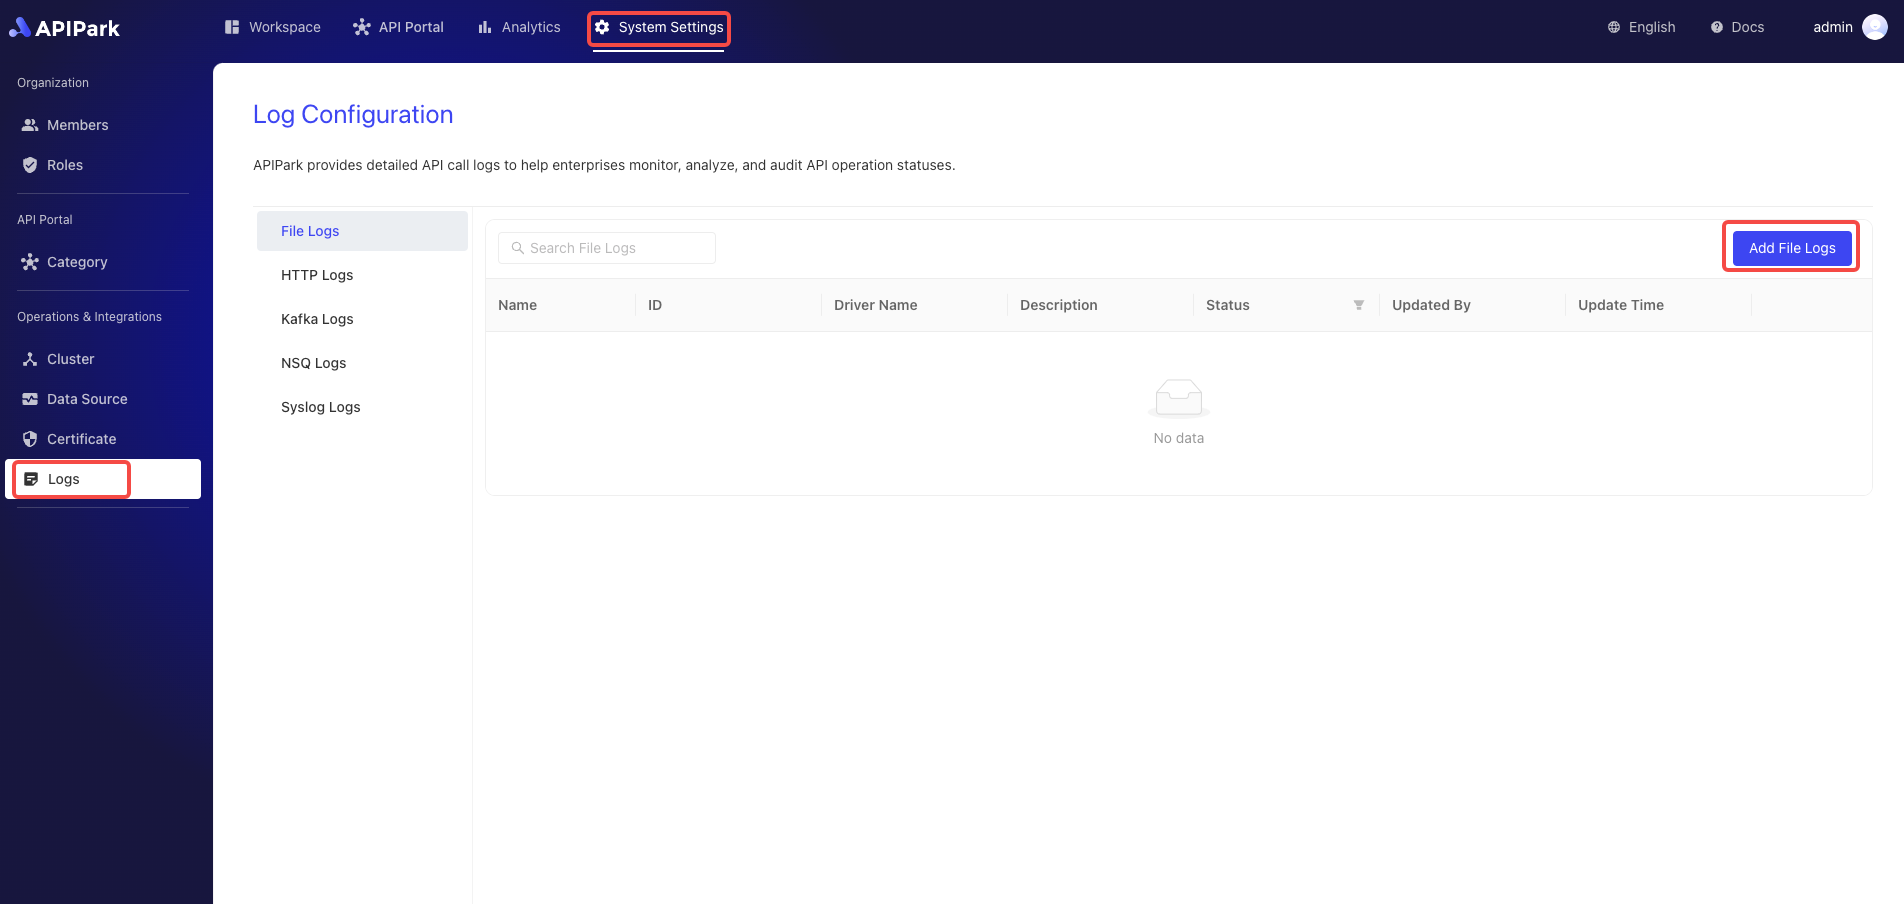
Operation Demonstration
Create a New File Log Configuration
- Click
System Settings->Operations and Integration->Logs->File Logson the left navigation bar, then clickAdd File Log.
- Fill in the File Log Configuration
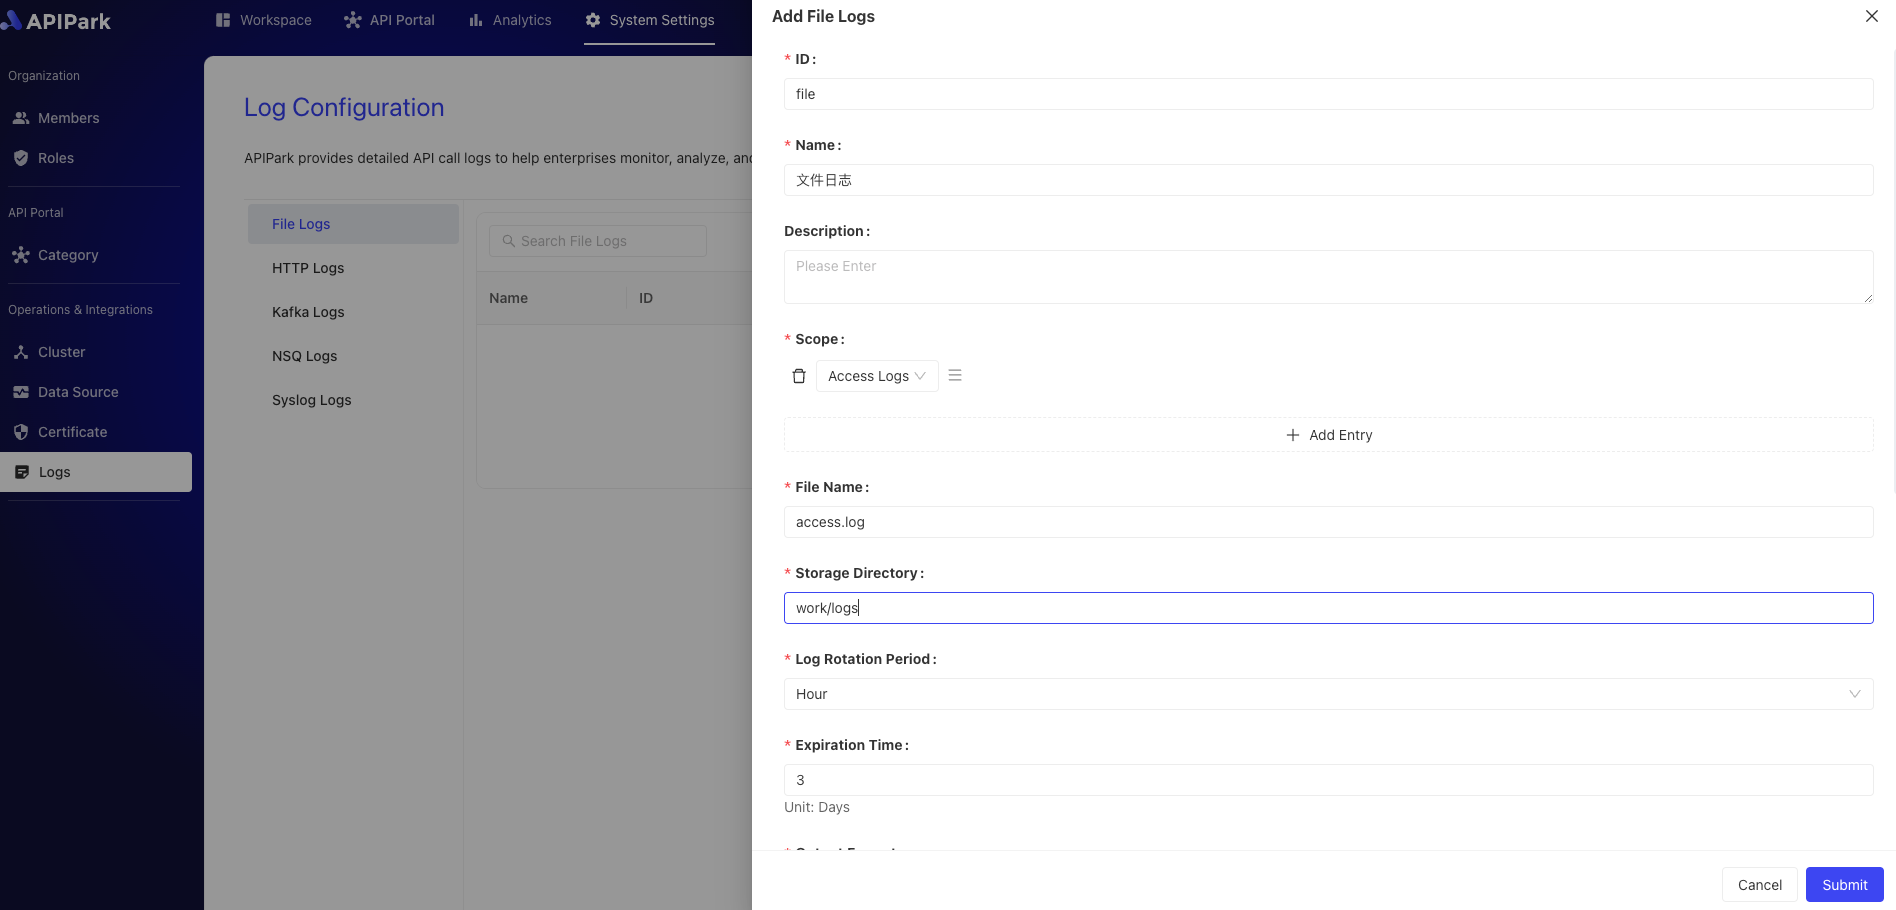
Configuration Explanation:
| Field Name | Description |
|---|---|
| File Name | The stored file name, the actual stored name will have a .log suffix, i.e., {File Name}.log |
| Storage Directory | The directory where files are stored, supports relative and absolute paths |
| Log Splitting Cycle | Create new log files periodically, old log files will be renamed, options: Hour, Day |
| Expiry Time | File retention time, in days, files exceeding this will be deleted periodically |
| Output Format | Format of output log content, supports Line, Json format |
| Formatting Configuration | Template for output format, tutorial click here to navigate |
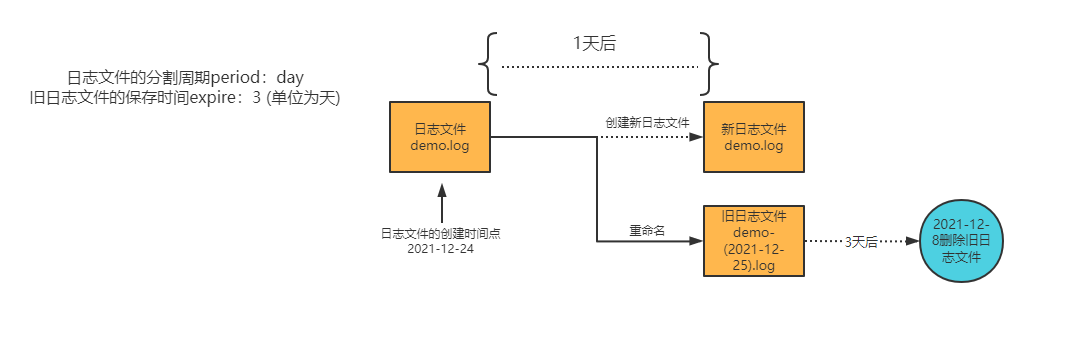
File Lifecycle Demonstration
Formatting Configuration Example
{
   "fields": [
      "$time_iso8601",
      "$request_id",
      "@request",
      "@proxy",
      "@response",
      "@status_code",
      "@time"
   ],
   "request": [
      "$request_method",
      "$scheme",
      "$request_uri",
      "$host",
      "$header",
      "$remote_addr"
   ],
   "proxy": [
      "$proxy_method",
      "$proxy_scheme",
      "$proxy_uri",
      "$proxy_host",
      "$proxy_header",
      "$proxy_addr"
   ],
   "response": [
      "$response_header"
   ],
   "status_code": [
      "$status",
      "$proxy_status"
   ],
   "time": [
      "$request_time",
      "$response_time"
   ]
}
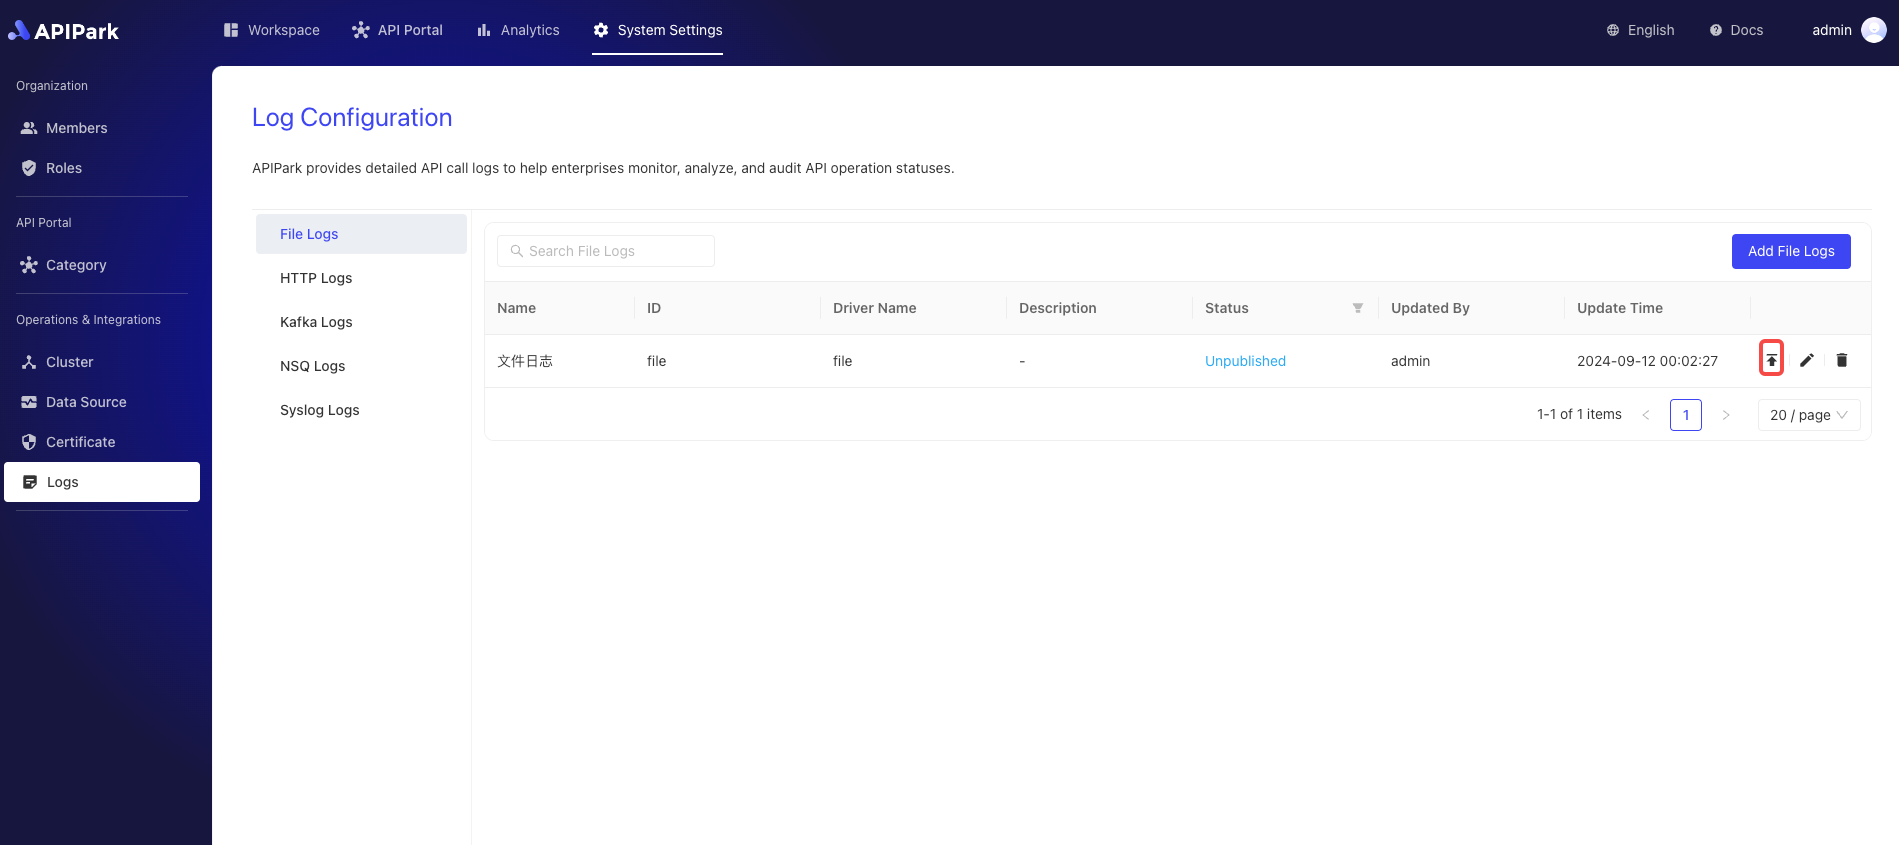
After filling it out, click Submit.
Go Live
- Click the
Go Livebutton next to the configuration you want to launch.
Access the Interface and Print Log Output
Prerequisites:
- You have completed the service subscription process, and the service provider has approved the subscription request. If not, refer to the tutorial Subscribe to Service.
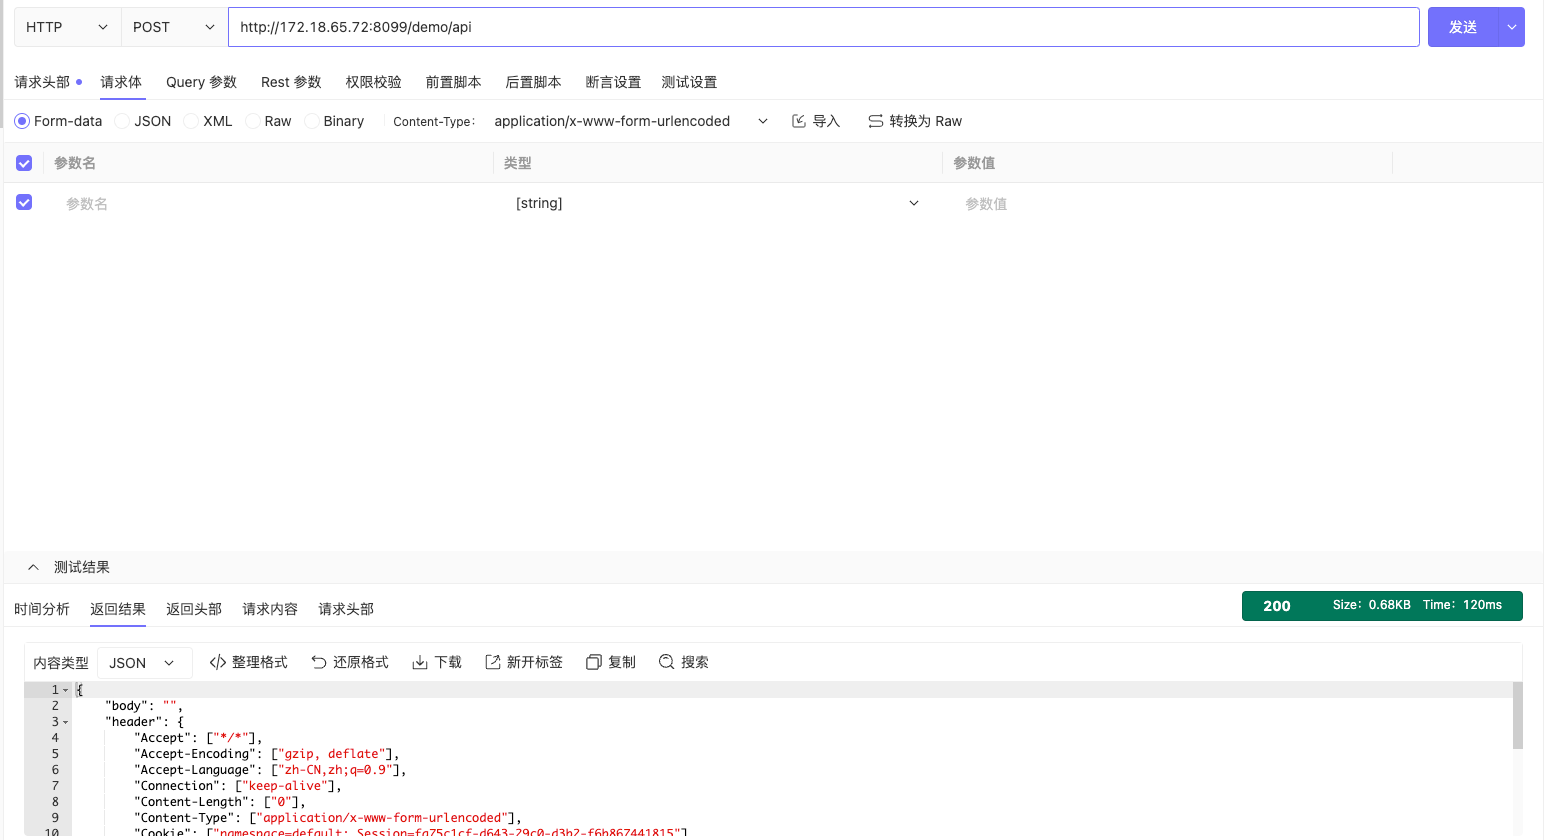
Access the subscribed interface. Here we demonstrate using Apikit's testing feature.
After access, enter the node directory and check the access log output information, as shown below
